
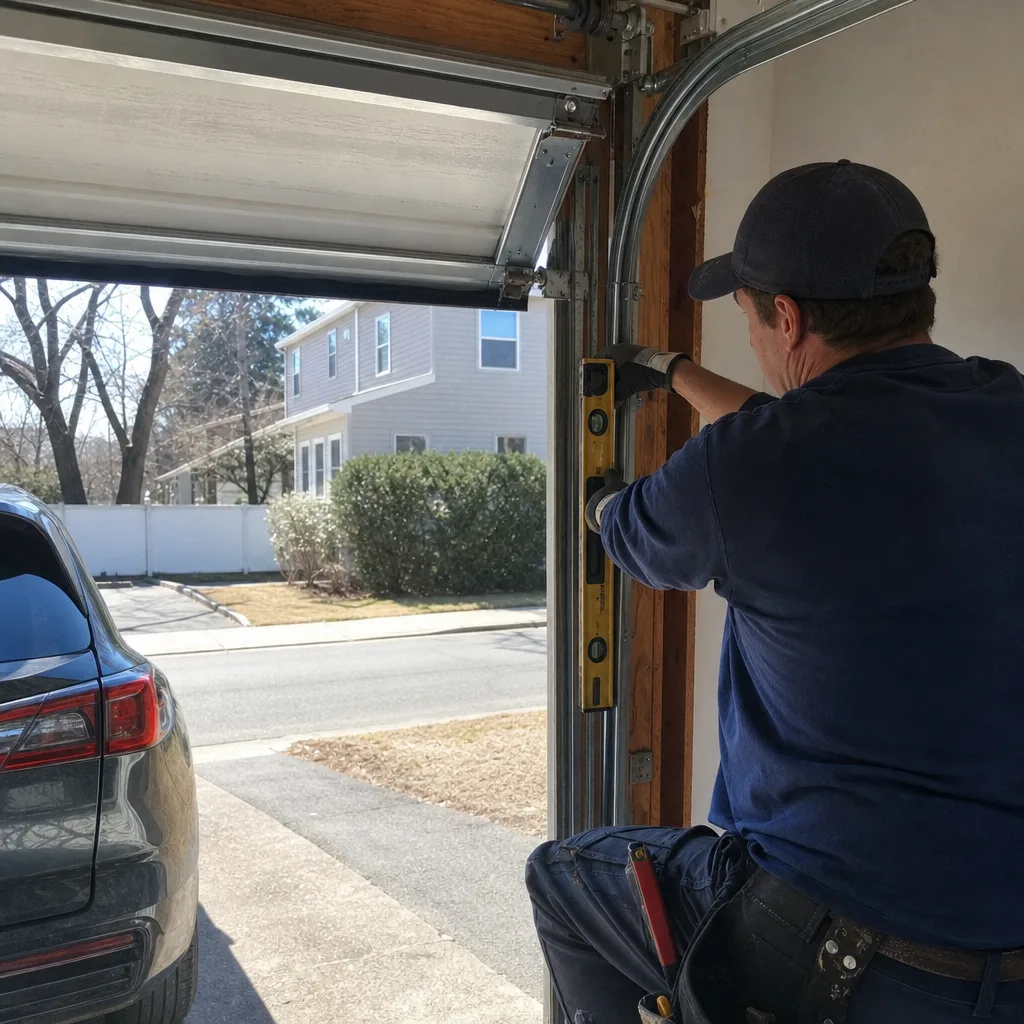
Last updated November 21, 2026
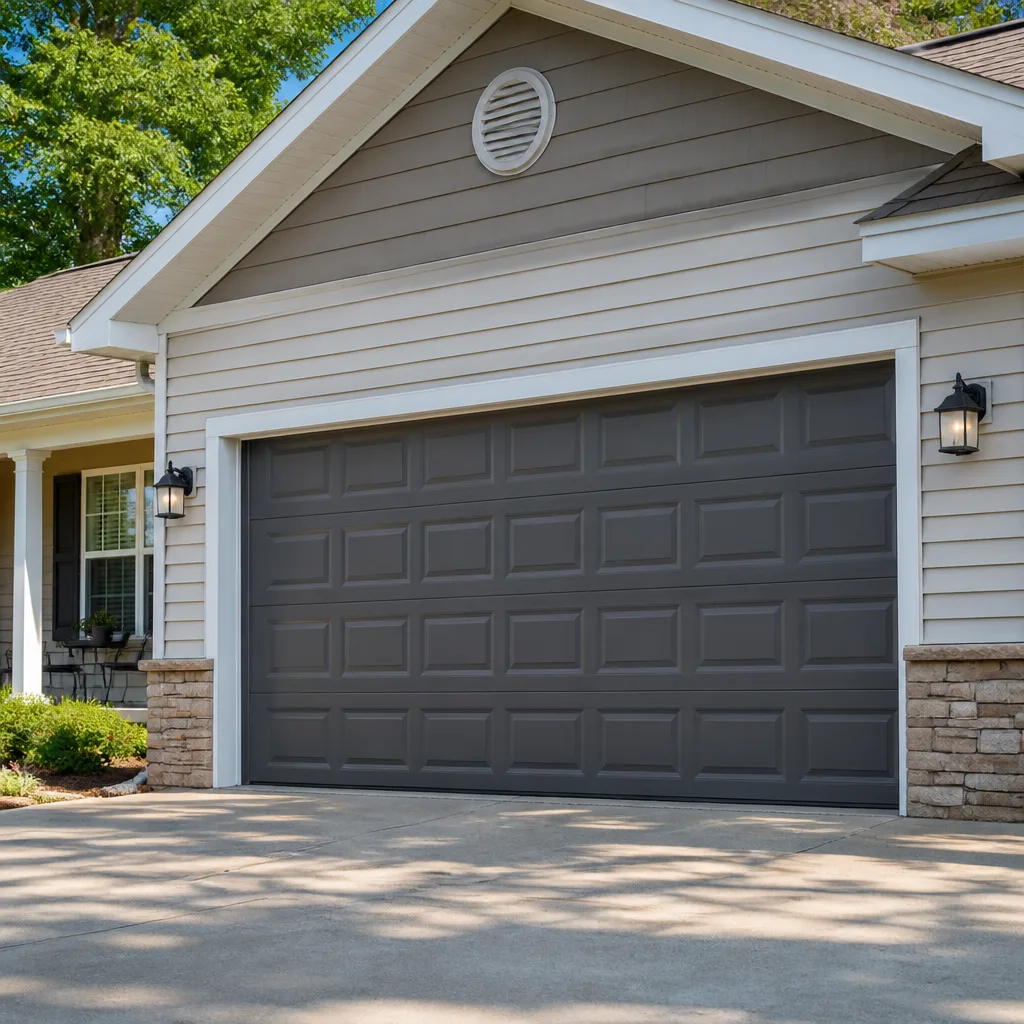 Raised-panel steel
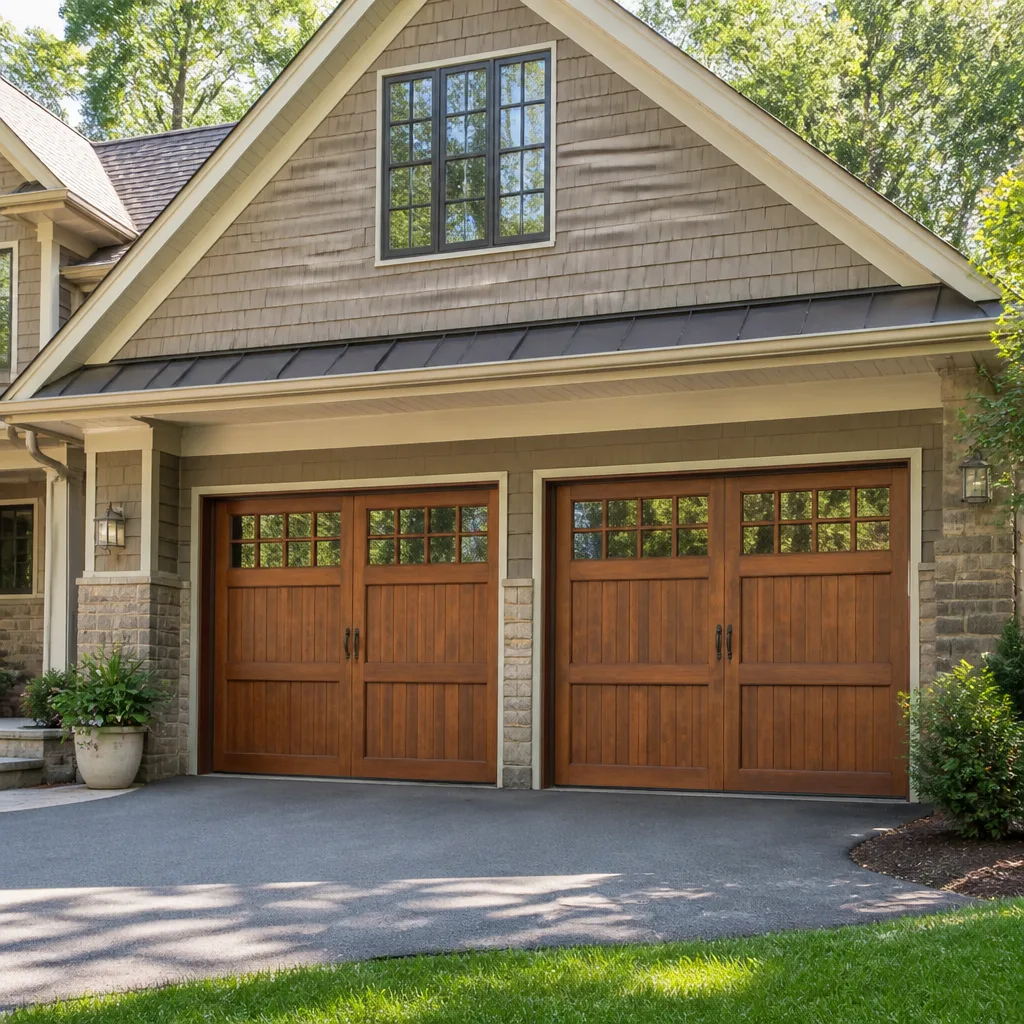 Carriage house
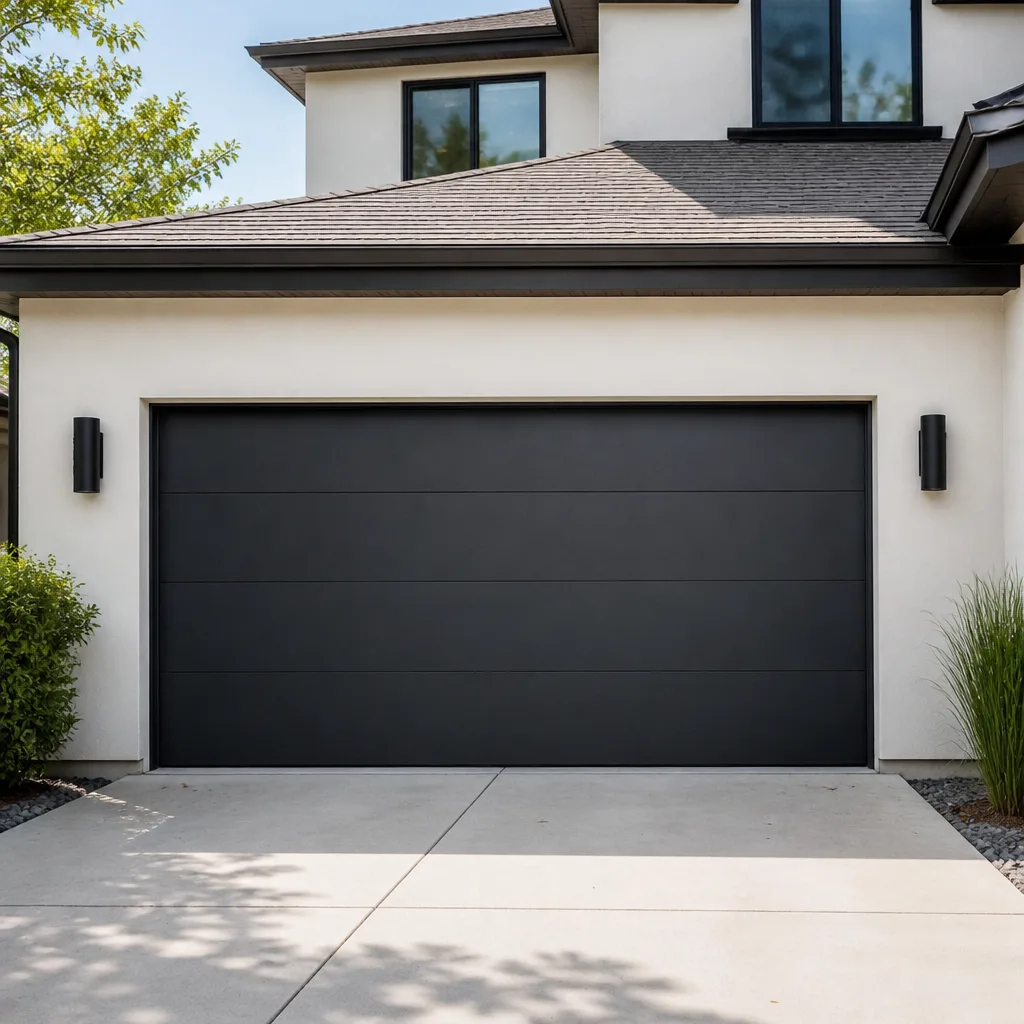 Modern flush
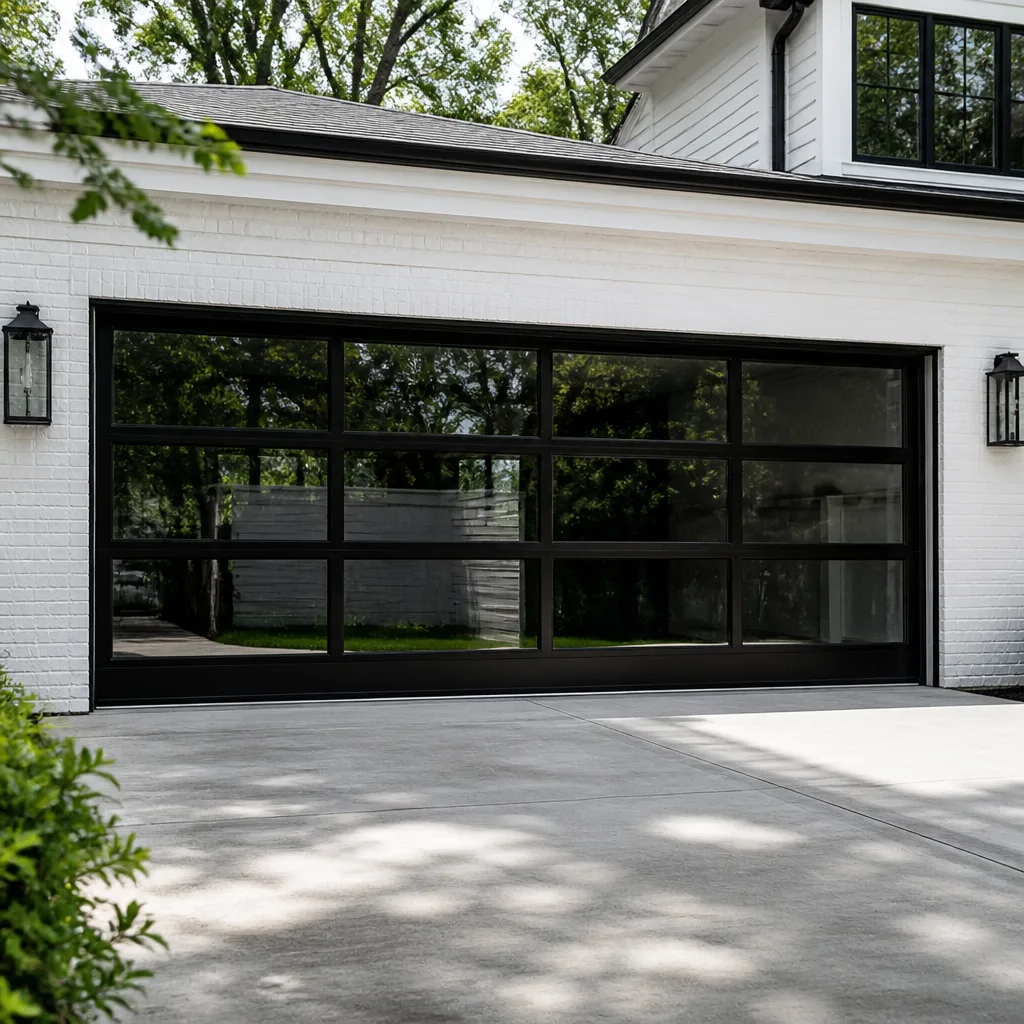 Full-view glass
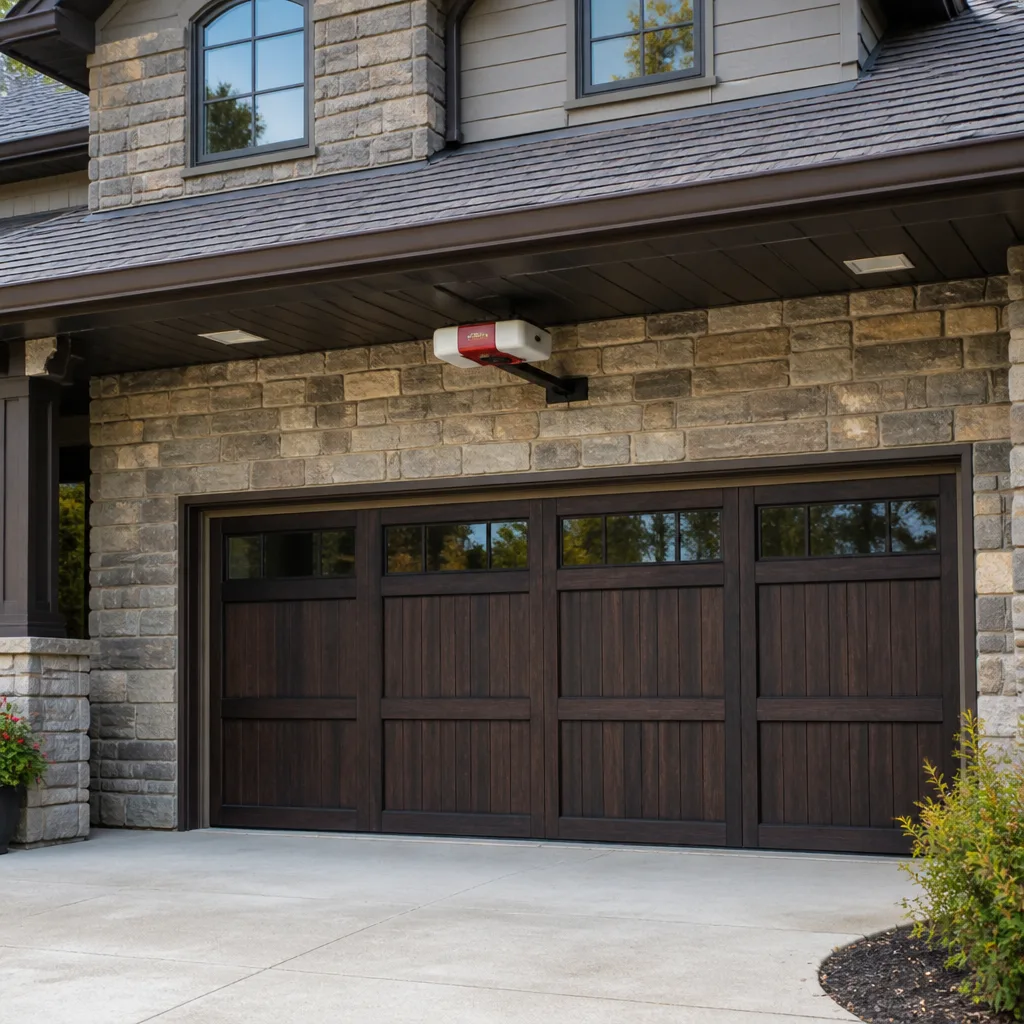 LiftMaster openers
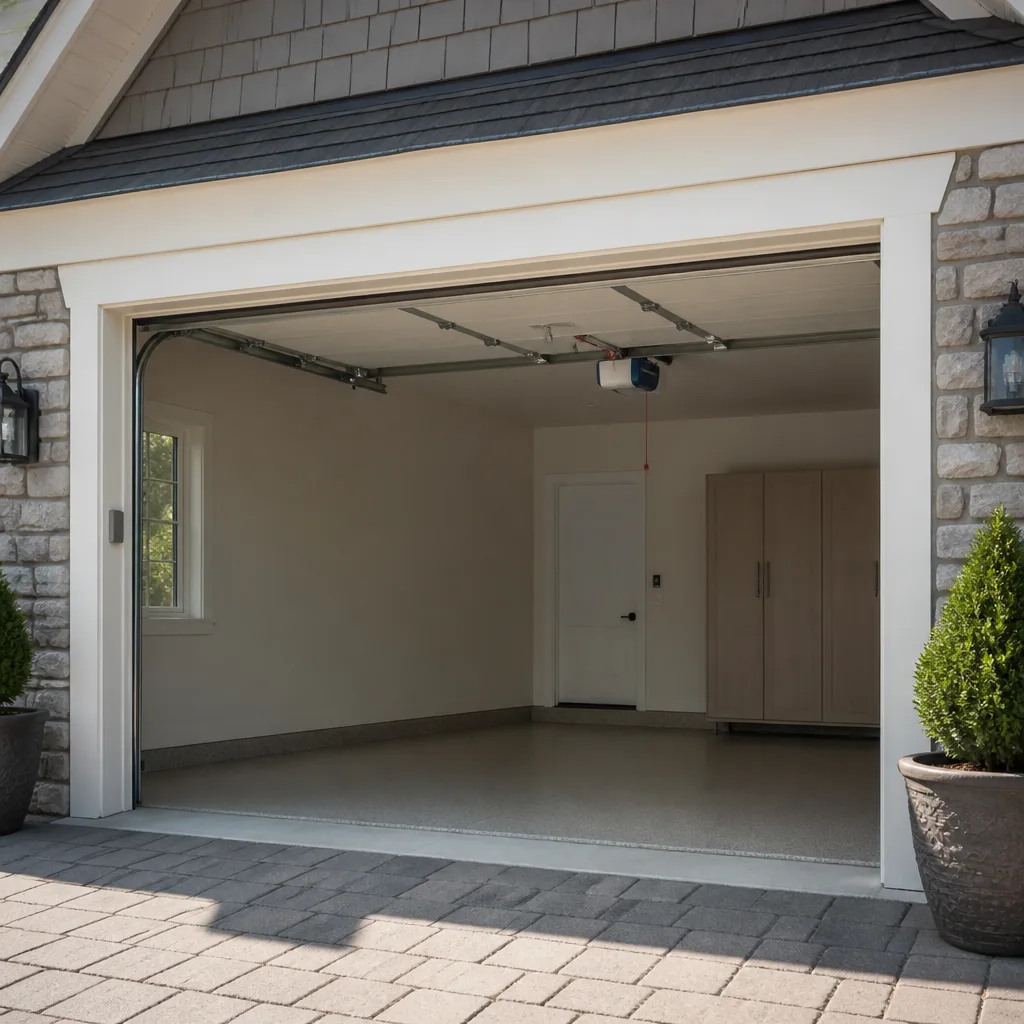 Chamberlain openers
Full 25-point door and opener safety check with every visit - springs, cables, rollers, tracks, and your LiftMaster or Chamberlain opener included
You get a price before we start. It does not change when the pro arrives.
Get your free estimateDIY vs Professional Garage Door: The Danbury Homeowner’s Decision Guide
Most advice about garage door repair splits the world in two: things you can do and things you can’t. That’s the wrong line. The real dividing line runs through stored mechanical energy. A torsion spring on a standard door holds somewhere between 150 and 200 pounds of tension even when the door is fully closed and looks perfectly still. That’s not a scare tactic, it’s physics, and it’s the reason spring work is a hard professional-only call. But plenty of garage door tasks, from lubricating hinges to replacing weather stripping to reprogramming a remote, are genuinely homeowner-safe if you take your time. This guide draws that line task by task for Danbury homeowners, with the tools, the warranty implications, and the honest cost math behind each decision.
Quick Answer
You can safely handle routine maintenance on your own: lubricating hinges and rollers, replacing bottom weather seals, adjusting photo-eye alignment, and reprogramming remotes or keypads. Anything involving torsion or extension springs, cables, drums, or the counterbalance system belongs to a trained technician, full stop. The gray zone, meaning opener motor replacement, track realignment, and panel swaps, usually tips toward professional work once you price the special tools and factor in warranty coverage.
Styles & brands we work with
- Raised-panel steel
- Carriage house
- Modern flush
- Full-view glass
- LiftMaster openers
- Chamberlain openers
Table of Contents
- The Task-by-Task Classification
- Why Springs and Cables Are a Hard Line
- The Real Cost Comparison for Danbury Homeowners
- Warranty Concerns Before You Pick Up a Wrench
- Tools for Legitimate DIY Work
- DIY Diagnostics: Pay Less by Describing More
- How Danbury Weather and Housing Shape the Decision
- When DIY Stops Making Sense Mid-Job
The Task-by-Task Classification
The fastest way to settle the DIY question is to sort the actual job into one of three buckets before you touch the door. Here’s how we break it down, based on what we see across the systems we service in Danbury homes.
DIY-Safe: Routine Maintenance and Small Replacements
- Lubricating hinges, rollers, and the torsion bar bearings with a proper garage door lubricant, not WD-40. This is the single best thing you can do to extend door life and reduce noise.
- Replacing the bottom weather seal or threshold when it’s cracked, compressed, or letting water in. It pulls out of the retainer and slides back in.
- Aligning and cleaning photo-eye sensors when the door reverses for no obvious reason. Usually it’s dust, cobwebs, or a bumped bracket.
- Reprogramming remotes, keypads, and HomeLink buttons on LiftMaster, Chamberlain, Genie, and Raynor openers. The manuals walk you through it in a few minutes.
- Replacing opener light bulbs and backup batteries, which is self-explanatory but surprisingly often the actual culprit behind “the opener is dying.”
- Clearing debris from the tracks with a dry cloth or soft brush. Do not lubricate the tracks themselves; that attracts grit.
DIY-With-Caution: Doable but Intrusive or Error-Prone
- Track adjustment when a single section has shifted slightly. Loosening the wrong bracket can send the door out of alignment, and the door weighs far more than most homeowners expect.
- Replacing a single bottom panel on some Clopay and Amarr models. Panels are matched by profile and color, and a mismatched panel is a visible eyesore.
- Replacing opener safety sensors as a matched pair only. Mismatched brands won’t communicate with each other.
- Resetting a tripped opener after a power surge. Some models need a specific reset sequence and a travel-limit recalibration afterward.
Professional-Only: Never DIY
- Torsion springs and extension springs in any condition. See the next section.
- Cables, drums, and cable anchors. Cables are under the same stored tension as springs and can whip free with enough force to cause serious injury.
- Bottom brackets and center bearing plates. These are load-bearing components in the counterbalance system.
- Replacing the opener motor or rail when the existing unit is a compatible LiftMaster, Chamberlain, Genie, or Craftsman system. Wiring, force limits, and safety reverse all need correct calibration.
- Any repair where the door is off-track, sagging, or binding. That’s a symptom of a counterbalance problem, not a track problem.
- Electrical work inside the opener housing beyond bulb replacement.
Why Springs and Cables Are a Hard Line
A torsion spring stores the energy that makes a door weighing a couple hundred pounds feel like it weighs ten. To change a spring, a technician has to remove that stored energy safely, unwind the old spring with the correct winding bars, install the new one to the exact number of turns for the door’s height and weight, and then re-tension the whole system. Do it wrong by a quarter turn, and the door either won’t balance or won’t close. Do it wrong by more, and the spring can release violently. Every year people are seriously hurt attempting this in a home garage with the wrong tools and no way to test balance safely.
We treat spring repair as its own discipline for that reason. A general handyman usually won’t touch a torsion spring, and that’s not a gap in their skill set, it’s appropriate caution. When a spring fails in a Danbury home, the right move is that same day: call a professional who carries the correct springs for the door’s weight rating, replaces the pair together as matched components, and confirms the balance point before leaving. If you’re searching for garage door spring repair, price it as a matched pair, not a single spring, because running one new spring against a fatigued partner is how you end up back here in a few months.
The same logic applies to cables. A snapped cable on a torsion system looks like a simple part swap. It isn’t. The cable holds the door’s full weight the moment the door is lifted, and it’s attached to a drum that can spin free. If you see a frayed cable, a cable off its drum, or a door hanging crooked on one side, stop operating the door. Every cycle makes the failure worse.
The Real Cost Comparison for Danbury Homeowners
The honest math isn’t just parts versus labor. It’s parts, plus your time, plus the tool investment, plus the risk of a callback if something isn’t quite right. Here’s how the five most common garage door repairs stack up for a typical Danbury homeowner.
| Repair | DIY Parts & Effort | Professional Range (Typical) | Verdict |
|---|---|---|---|
| Weather seal replacement | $20-$40 seal, 30-45 min | Often bundled with a maintenance visit | Do it yourself |
| Photo-eye / safety sensor fix | Free for a dusting or realignment; $25-$60 for a new sensor pair | Covered in a repair visit or diagnostic | Try DIY first |
| Hinge / roller lubrication and tune | $10-$15 lubricant, 20 min | Included in most tune-up calls | DIY, twice a year |
| Broken torsion spring (single) | $40-$90 for a spring; most homeowners can’t source the correct one safely | Roughly $180-$340 for one spring installed | Professional |
| Broken torsion spring (matched pair) | $80-$160 in springs; same risk | About twice the single-spring range, since the pair is replaced together | Professional only |
| Opener motor replacement | $150-$350 unit plus wiring time; travel and force calibration required | Varies by unit and door weight; set by written estimate | Professional |
Treat every professional figure above as a typical estimate, not a fixed quote. The written estimate you receive before work starts is what sets the final price, and we don’t move a screwdriver until you’ve agreed to that number. For a wider look at what repair visits run in the area, our garage door repair page breaks down the ranges we see across Danbury neighborhoods.
Notice what happens with the DIY-viable tasks on that table. The parts are cheap and the labor is trivial, so DIY wins clearly. The moment you cross into spring or opener territory, the DIY savings disappear behind tool cost and the risk of a job that doesn’t hold. That’s the line this whole decision comes down to.
Warranty Concerns Before You Pick Up a Wrench
Garage door systems carry two separate warranties: one for the door and one for the opener. Self-service on certain components can affect the first one, and it’s the single most common thing homeowners don’t think about before starting a repair.
Door warranties, especially on premium brands like Clopay, Amarr, Wayne Dalton, and Raynor, typically cover the panel finish, the structural integrity of the sections, and sometimes the hardware itself. Where these warranties get complicated is when a non-approved part is installed or a component is modified. Replace a hinge with a generic match from a hardware store and it may work fine, but the manufacturer has an easy reason to question a later claim. The same goes for replacing a whole bottom section with a panel that doesn’t match the original profile.
Opener warranties generally work the same way. LiftMaster, Chamberlain, Genie, and Craftsman all publish guidelines about authorized installation and repair. In practice, manufacturers can’t void a warranty for routine maintenance you perform correctly. But if a motor fails shortly after a homeowner rewired the safety circuit or replaced the logic board, expect a warranty conversation that doesn’t go your way.
The practical rule: everything in the DIY-safe bucket above is fine to touch without worrying about warranty coverage. Anything past that, ask the manufacturer’s warranty text first, or ask us. We work on all of these brands every week and know exactly which components are still under a manufacturer’s coverage, which matters before a warranty claim gets complicated.
Tools for Legitimate DIY Work
Here’s the honest assessment most guides skip: garage door DIY doesn’t require a specialized tool chest, because the tasks that require specialized tools are precisely the tasks you shouldn’t be doing.
For the DIY-safe list, you need:
- A can of garage door lubricant (silicone or lithium, not WD-40) for hinges, rollers, and the torsion bar bearings.
- A cordless drill or screwdriver for the retainer that holds the bottom weather seal.
- A soft brush and dry cloth for the tracks.
- A step stool tall enough to reach the photo eyes and opener head safely.
- The opener manual, downloaded from the manufacturer if you don’t have the paper copy. This is the closest thing to a specialty tool a homeowner needs.
That’s a total investment of maybe $30 to $50, and most of it lasts for years. Now consider the tools required for legitimate spring work: two winding bars of matched diameter, a proper set of gloves, a door-weight scale, and a safe way to test the balance point after tensioning. That package runs well past $100, and it’s not a one-time skill. You’d use it once and never touch it again.
The math never justifies the tool investment for a spring job. If you’re going to buy the tools, you’re also going to need the muscle memory to use them safely, and that comes from repetition you won’t get. Hand the spring work to a professional and keep the $50 DIY kit for everything else.
DIY Diagnostics: Pay Less by Describing More
You don’t have to do the repair to save money on it. One of the biggest levers a homeowner has is arriving at the service call with a clear problem description instead of “it makes a noise.” A good diagnostic narrows the job from a multi-hour exploration to a fifteen-minute confirmation, and that translates directly into a fairer estimate.
Here’s how to run a basic diagnostic safely, without touching anything in the professional-only column:
- Disconnect the opener. Pull the manual release cord so the door operates by hand. Never diagnose a door while the opener is engaged.
- Test the balance by hand. Lift the door to waist height and let go. A healthy door stays put. A door that slams shut is losing tension; a door that climbs on its own is over-tensioned. Either way, that’s a counterbalance problem for a professional.
- Listen for where the noise originates. Hinges and rollers squeak at the panel joints. A groaning opener comes from the head unit. A grinding scrape is usually a roller out of its track.
- Check the photo eyes. Wave a hand in front of each one while the door is closing to see if it reverses as it should.
- Count the reversed cycles. Does the door close most of the way and then reverse? Or reverse immediately? That’s the difference between a travel-limit issue and a sensor issue.
- Write down the opener model. It’s on a sticker under the light cover on LiftMaster, Chamberlain, Genie, and Craftsman units.
That description, emailed or read over the phone, saves real time on the call. It also means the technician can bring the correct parts for the door’s brand and weight class rather than making a second trip. If you’ve already done the diagnostic and want a rapid repair visit, our garage door opener repair page is the right starting point for opener-specific issues.
How Danbury Weather and Housing Shape the Decision
Danbury winters are the most punishing thing your garage door faces. Freeze-thaw cycles across a typical Western Connecticut winter are hard on bottom seals, and a door with worn weather stripping lets in cold air and road salt through the winter, which shortens the life of everything above the threshold. That’s one of the reasons weather stripping is squarely in the DIY-safe bucket here: it fails often, it’s cheap, and replacing it every couple of seasons prevents bigger problems.
Danbury’s housing stock leans toward older capes, ranches, and colonials, plus a fair number of newer construction out toward the Mill Plain and Bethel line. In older homes, springs are often past their design life, and openers from ten or fifteen years ago are common. That’s actually good news for the DIY question: on a LiftMaster or Chamberlain opener with a known calibration procedure, a homeowner can often fix a small travel-limit problem in ten minutes with the manual. On a Wayne Dalton or Raynor system with an unusual track configuration, the same problem is worth handing off.
One more local factor: neighborhood driveways here aren’t uniform. Narrower driveways close to the door face mean more maneuvering, more scrapes on the bottom panel, and more misaligned photo eyes from accidental bumps. If your photo eyes get knocked out of line more than twice a season, a small bracket adjustment run by a professional resolves it far better than repeated DIY recentering.
When DIY Stops Making Sense Mid-Job
Plenty of homeowners start a task in the DIY-with-caution bucket and realize halfway through that they’re out of their depth. That’s fine, and the smart move is to stop cleanly. Here’s what to do if you’ve started a repair and it’s not going as planned.
- If the door is off its tracks, stop. Don’t try to re-ride it yourself. A door that comes off the track under tension can collapse.
- If you’ve loosened a bracket and heard a cable twang, stop. That’s a load-bearing component and it needs a professional within the same visit.
- If an opener stops responding after you reset it, stop. Don’t keep unplugging and replugging. The safety reverse is now unverified.
- If you find a broken spring while you were only investigating a noise, stop. The next call should not be to a hardware store.
Call us. We handle a lot of “I started this and need help” jobs, and a stuck door at night or a broken spring blocking the car in the morning gets the same professional response as a scheduled repair. Call (844) 524-6649. We answer 24/7. Fast dispatch from 7am to 7pm, Sunday through Friday.
Common Mistakes to Avoid
- Trying to change a torsion spring yourself. This is not a task where “go slow” is enough. The stored tension in a wound spring is a physical fact, not a skill level, and even a careful homeowner with the wrong winding bars is exposed to real injury. Every professional we know treats this as the hard line.
- Lubricating the tracks. It seems logical, but oil on the tracks attracts grit, which builds up on the rollers and makes the door noisier within weeks. Lube hinges and rollers, keep the tracks dry.
- Replacing springs one at a time. A new spring against a fatigued partner will pull the door out of balance and shorten the new spring’s life. The pair is replaced together, and the labor is barely different.
- Assuming a warranty covers a DIY repair. Most door warranties cover the original panel finish and structural integrity, but a swapped component or a modified bracket is a legitimate reason for a manufacturer to question a claim. Check the warranty text before you start.
- Adjusting force limits on an opener that keeps reversing. Increasing the close force to stop a reversal masks a real mechanical problem and defeats a safety feature. If the door reverses, something is wrong at the door, not the opener.
- Diagnosing a door while the opener is engaged. You can’t test balance with the opener connected. Disconnect with the manual release cord first.
- Buying a replacement opener without matching the door’s weight class. An undersized LiftMaster, Chamberlain, or Genie unit for a heavy insulated Clopay or Amarr door wears out in a fraction of its expected life.
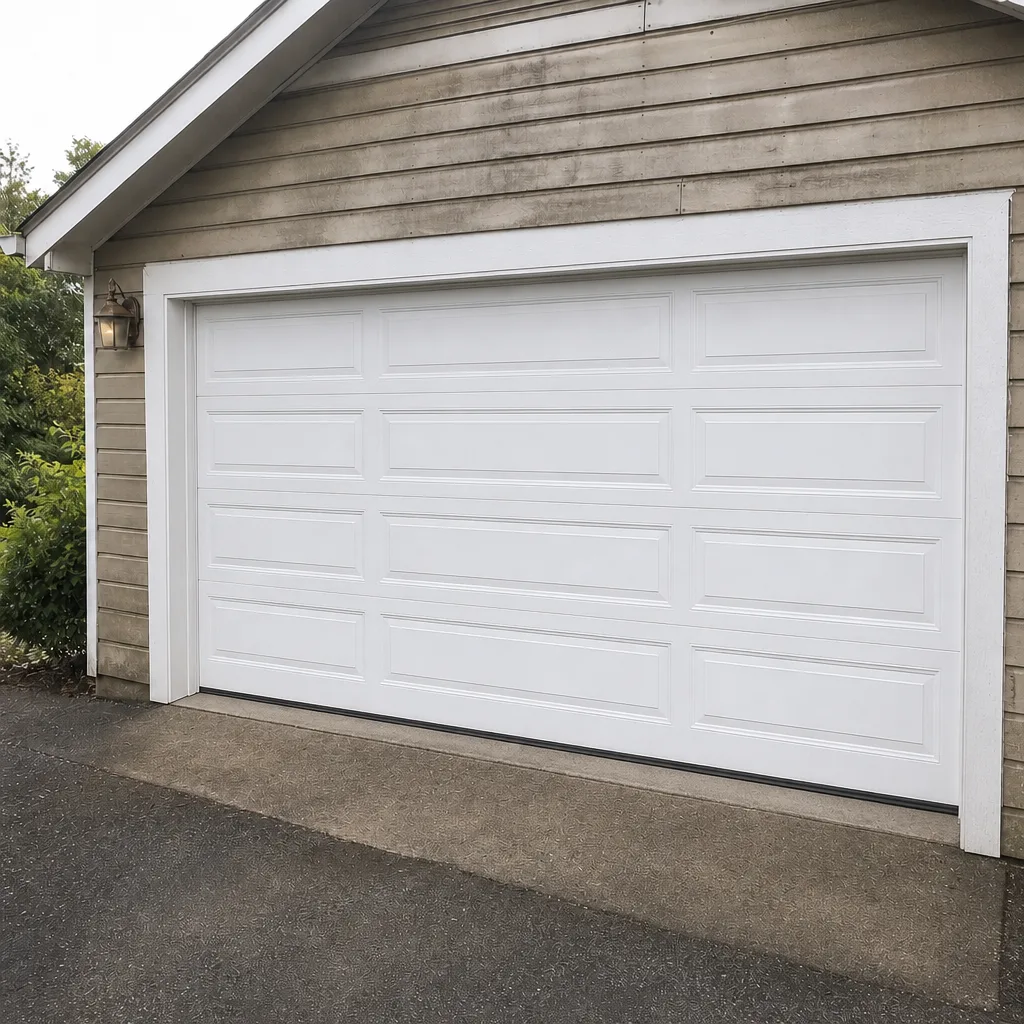
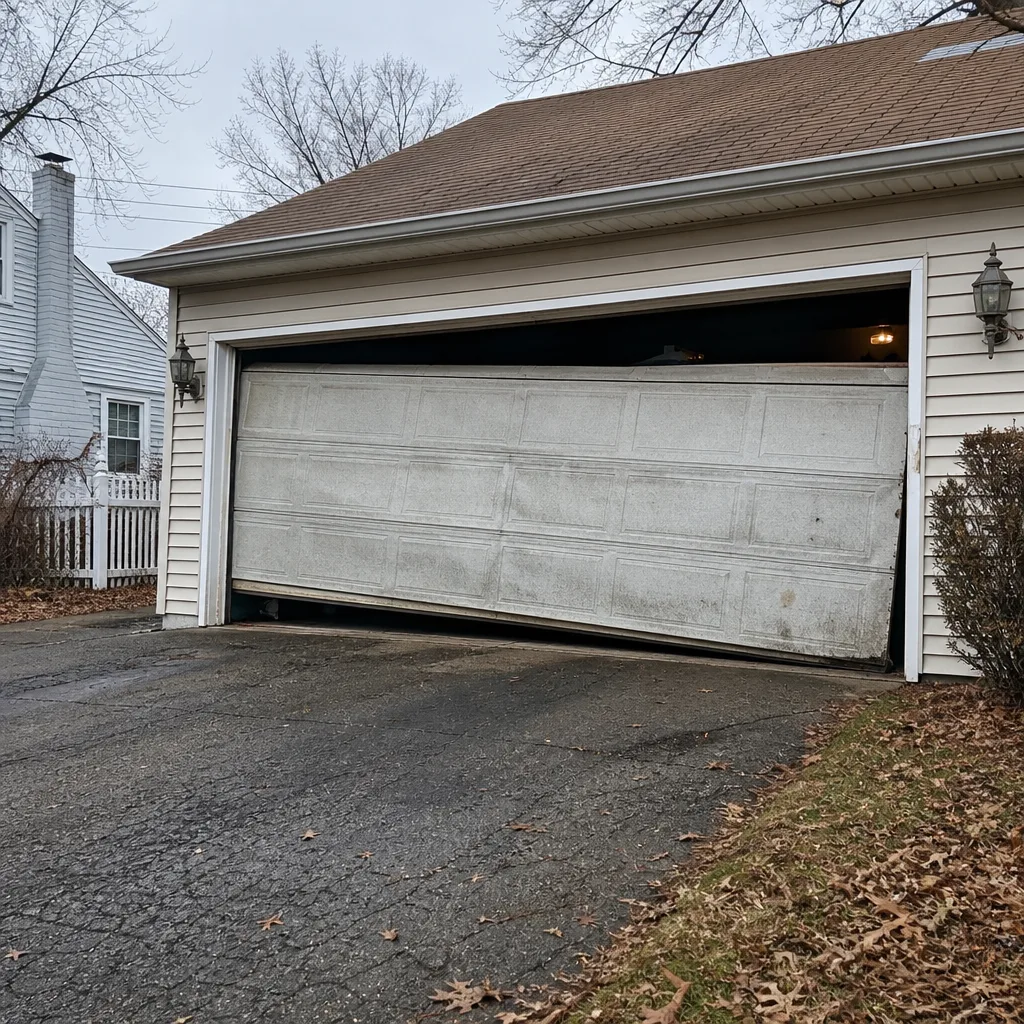
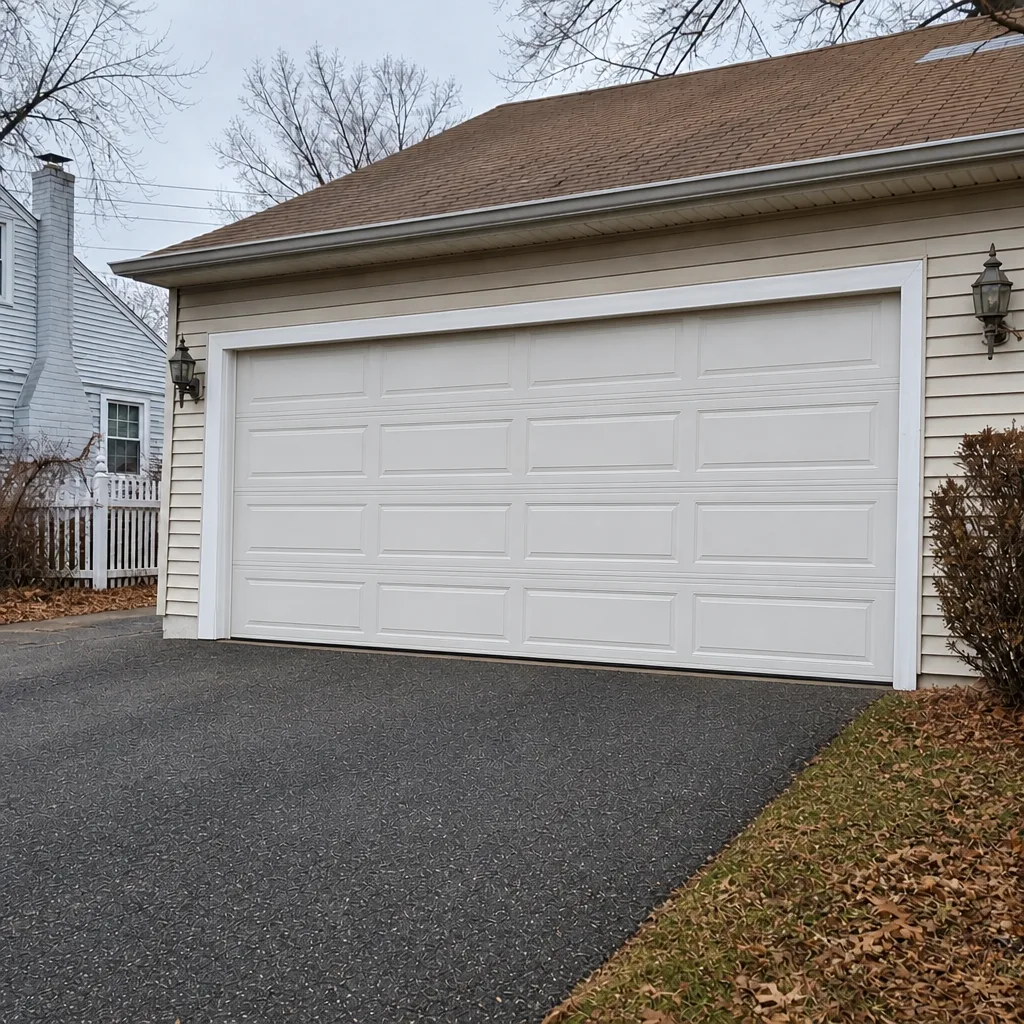
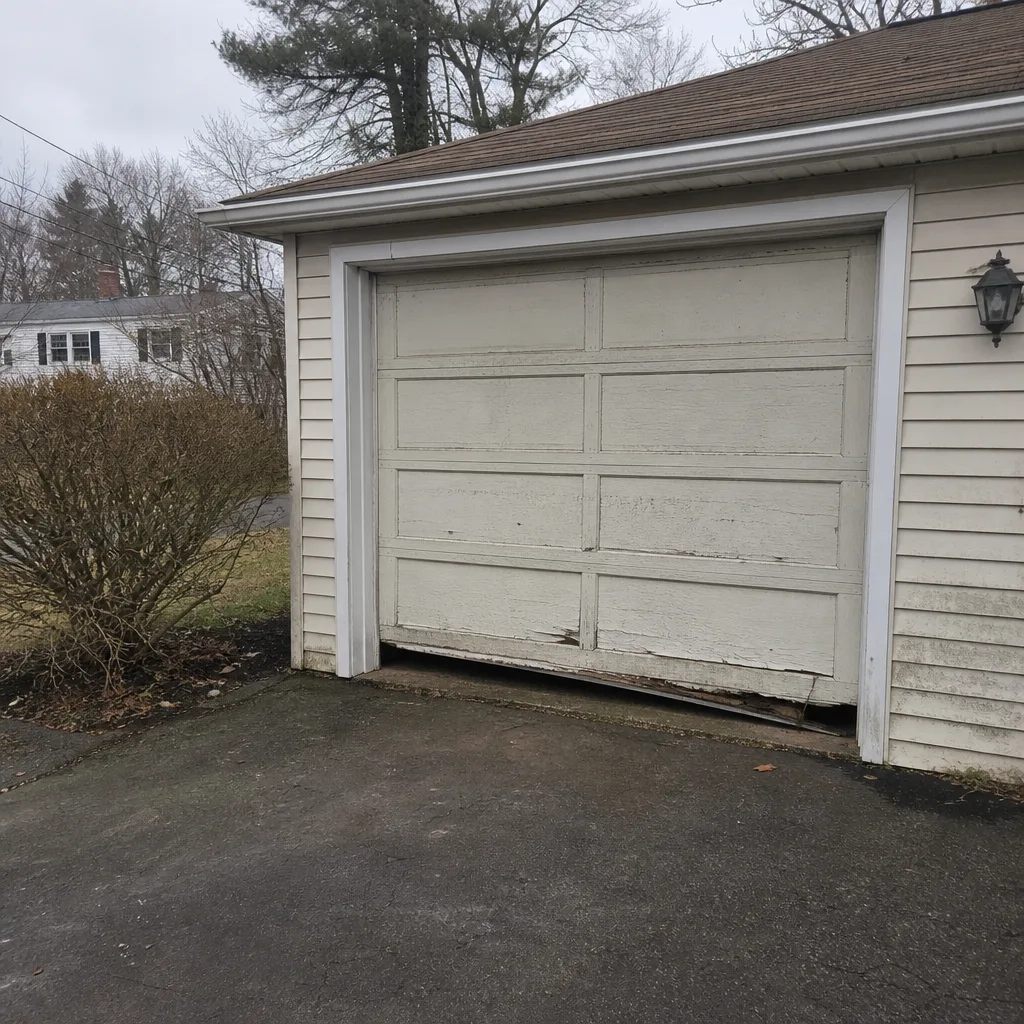
See the difference
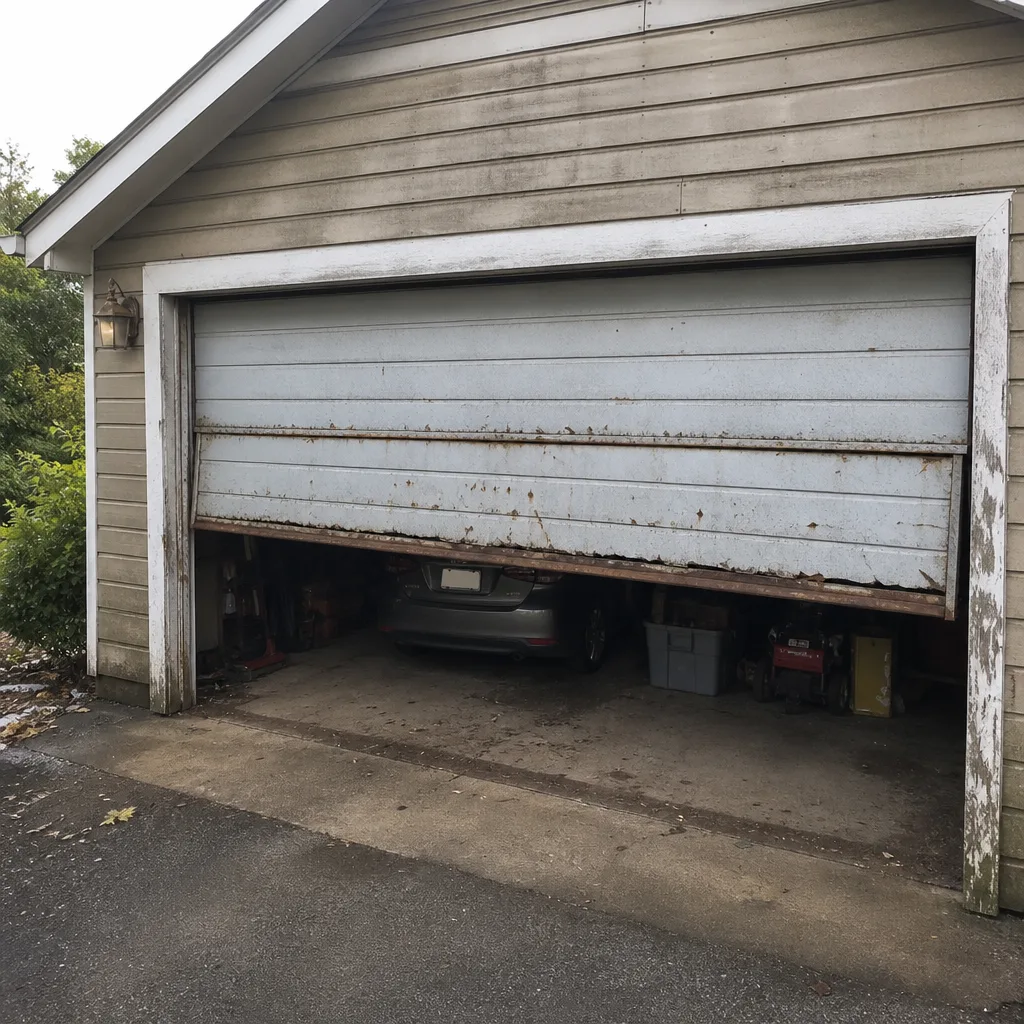 Before
 After
 Before
 After
 Before
 After
When to Call a Professional
Call a professional the moment the problem touches a spring, a cable, a drum, or the bottom brackets. Call us if the door is off its tracks, sagging on one side, or binding on the way up. Call us if an opener reverses, hums without moving, or won’t finish a cycle, because those symptoms point to mechanical or calibration issues that need proper diagnostics. And call us if you’re replacing an opener motor or an entire door, since installation means measuring the opening precisely, matching the door’s weight class to the spring set, and confirming that safety reverse works before the job is done. Danbury Garage Door Repair Co offers free estimates in Danbury. Call (844) 524-6649 to schedule one.
Frequently Asked Questions
No. A torsion spring holds 150 to 200 pounds of stored tension even when the door is closed, and releasing that energy incorrectly can cause serious injury. Springs, cables, drums, and bottom brackets should always go to a trained technician. Call (844) 524-6649 for a same-day assessment and a written estimate.
Typical estimates for a single torsion spring replacement in Danbury run roughly $180 to $340 installed, and a matched pair costs about twice that because springs on the same door are replaced together. The written estimate you receive before any work begins is the final price. Call (844) 524-6649 for a free estimate.
It can, but only on components the manufacturer’s warranty covers. Routine maintenance like lubricating hinges or replacing a weather seal won’t affect a Clopay, Amarr, LiftMaster, or Chamberlain warranty. Modifying a load-bearing component or swapping a branded part for a generic substitute is where warranty coverage can get questioned, so check your manual or ask us before you start.
Lubricating hinges and rollers, replacing the bottom weather seal, aligning photo-eye sensors, replacing opener light bulbs, and reprogramming remotes or keypads are all safe and straightforward. Those tasks cover the most common maintenance issues, and doing them yourself every season keeps the door running smoothly between professional visits.
Yes. We offer same-day and emergency service for stuck doors, broken springs, and openers that fail to respond, and we can typically get a technician to a Danbury home on the same day in most situations. Call (844) 524-6649. We answer 24/7. Fast dispatch from 7am to 7pm, Sunday through Friday.
No. The written estimate you agree to before any work starts is the price you pay for the scope described in that estimate. If we find a new issue while working, we stop, explain it, and give you a revised written price before continuing. Call (844) 524-6649 for a free estimate on any garage door or opener repair.
The Bottom Line
DIY makes sense for the maintenance tasks on this list: lubrication, weather seals, sensor alignment, and remote programming. It stops making sense for anything involving springs, cables, drums, or opener internals, and that’s not because homeowners aren’t capable. It’s because those components carry stored energy that no manual can teach you to manage safely without the training and tools. Buy the $30 DIY kit, keep your door lubricated and sealed through Danbury winters, and hand the rest to a technician. You’ll save on the parts that matter, skip the ER bills, and keep the manufacturer’s warranty intact on the systems that cost the most to replace. Our technicians have up to 15 years of experience across LiftMaster, Chamberlain, Genie, Clopay, Amarr, Wayne Dalton, Craftsman, and Raynor, so whatever brand is on your door, we work with it.
Ready to stop guessing and get a straight answer? Danbury Garage Door Repair Co covers repair, opener repair, spring repair, installation, and emergency service across Danbury, and one call reaches all of it. Call (844) 524-6649 for a free estimate. We answer 24/7. Fast dispatch from 7am to 7pm, Sunday through Friday. The estimate is free, the written price is set before any work begins, and satisfaction is guaranteed.
Written by the team at Danbury Garage Door Repair Co.