
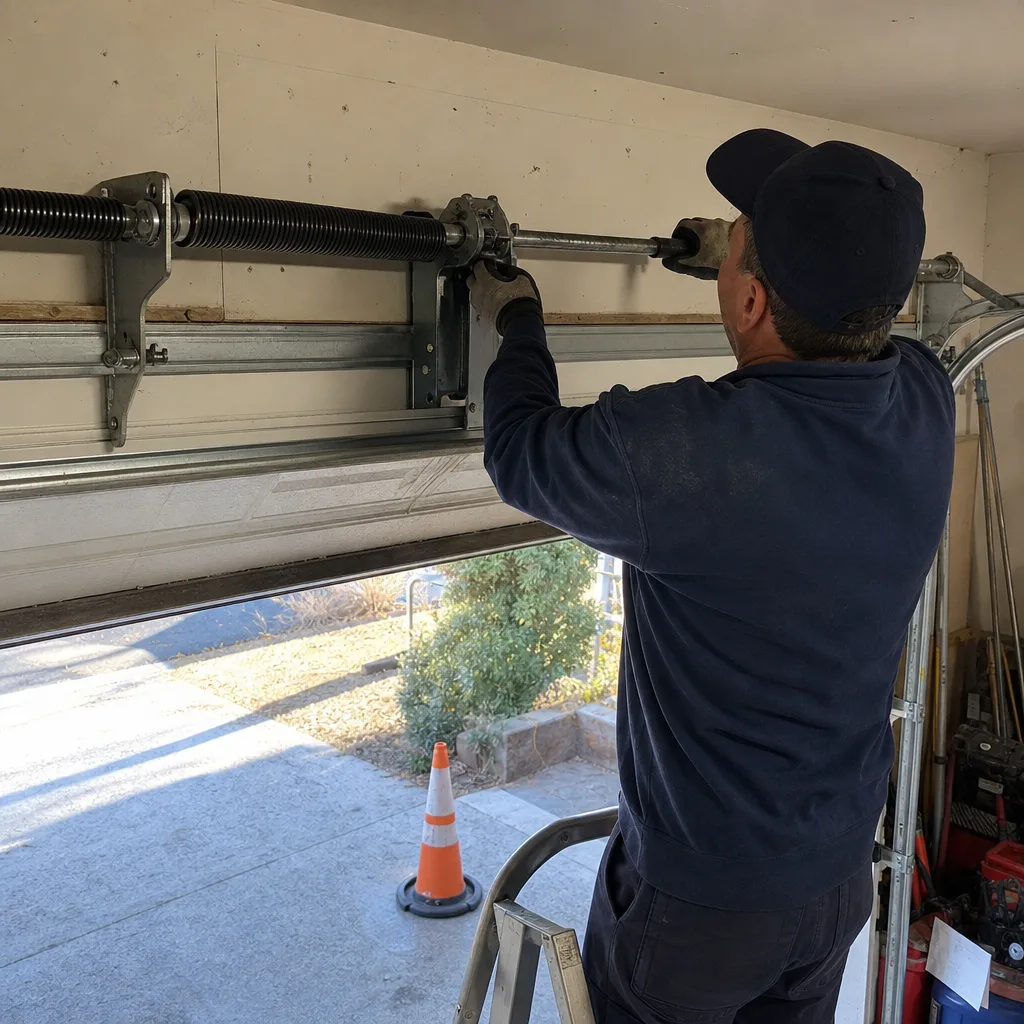
Last updated November 21, 2026
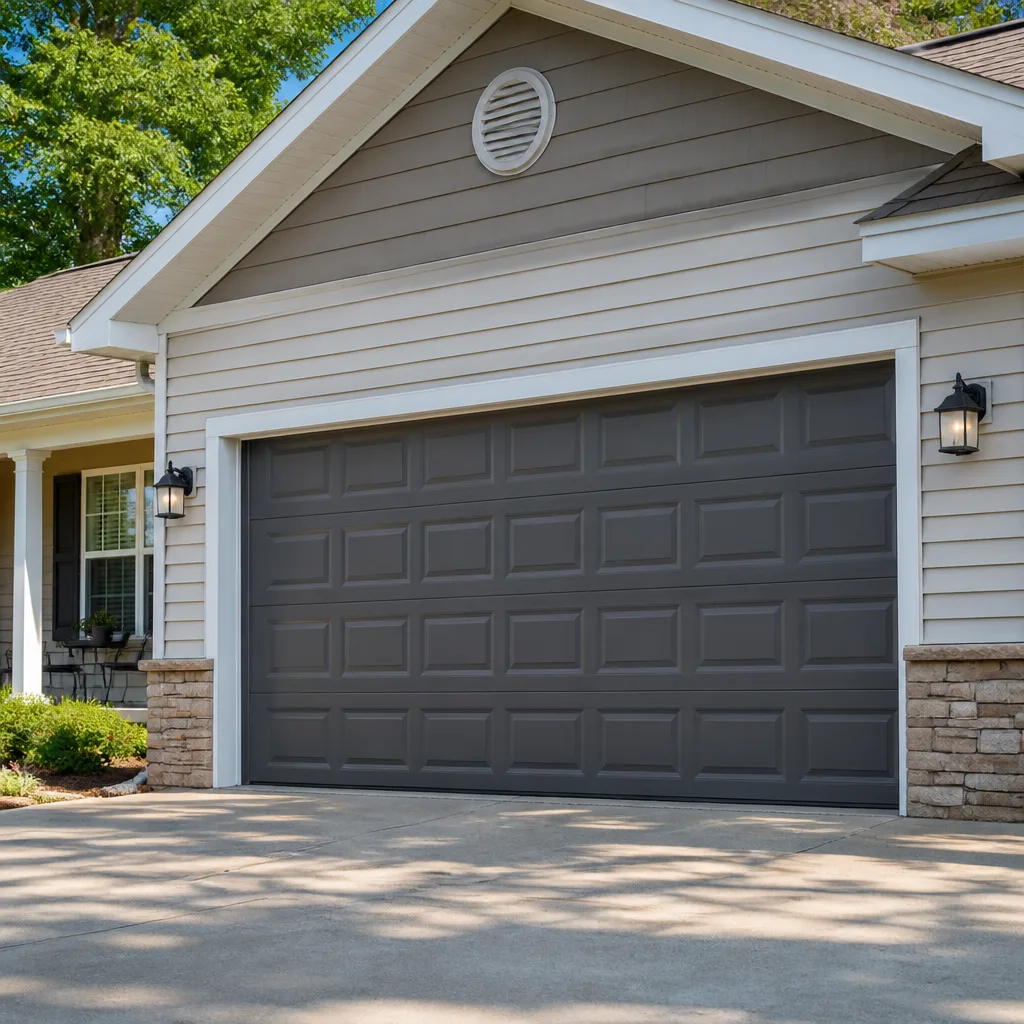 Raised-panel steel
 Carriage house
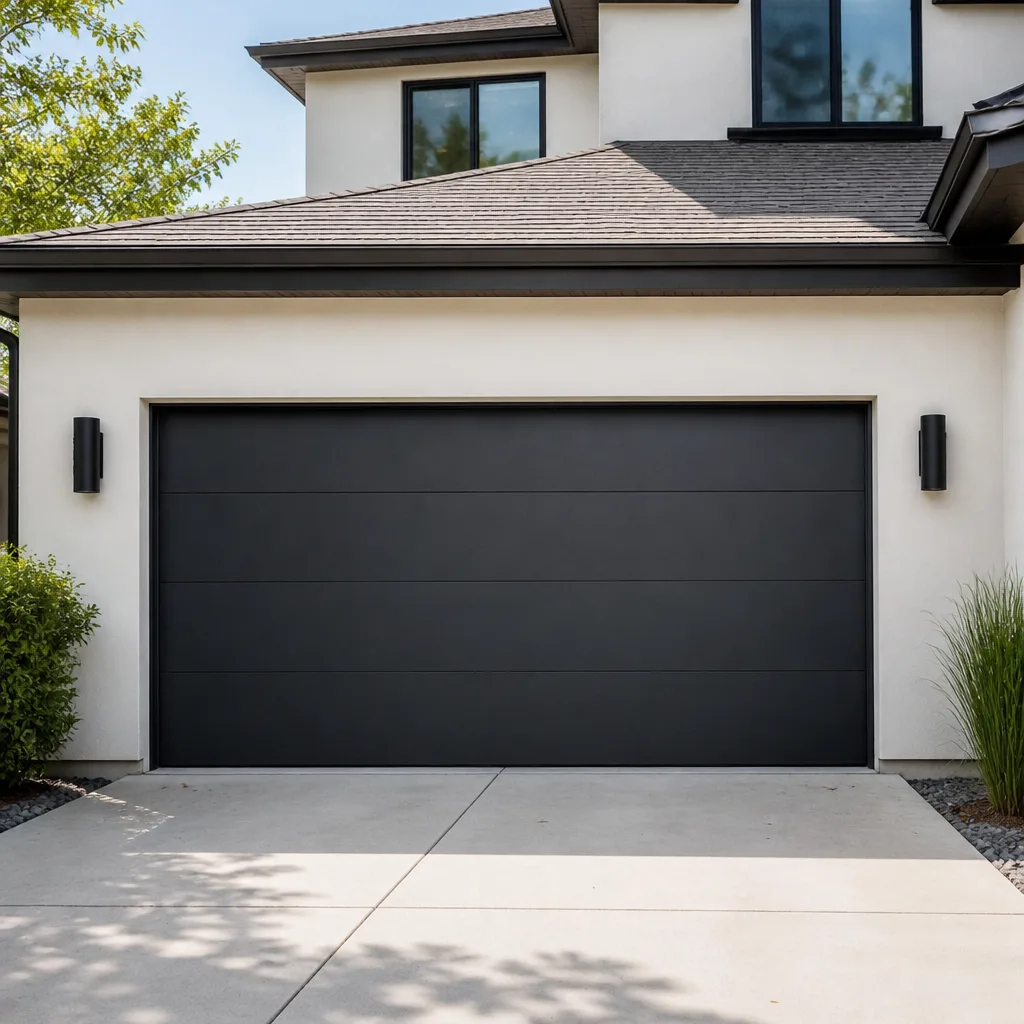 Modern flush
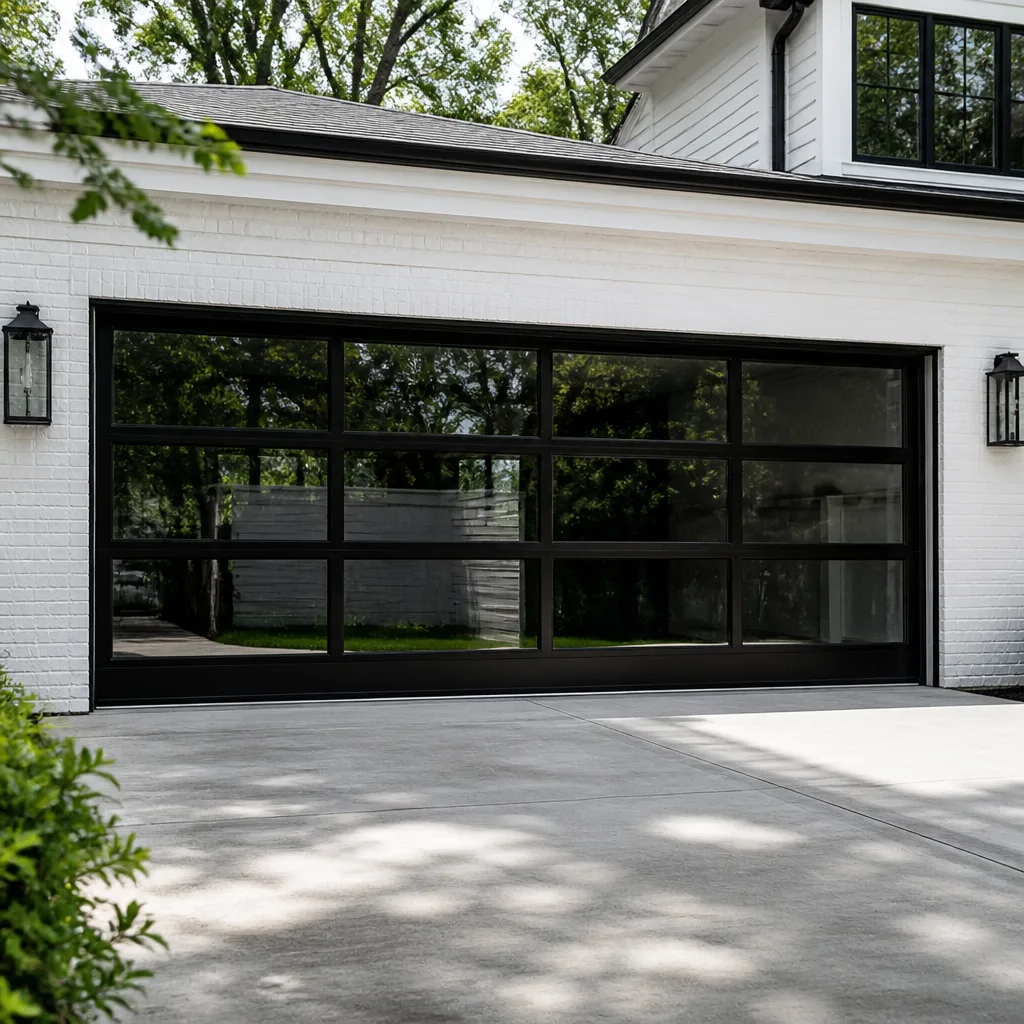 Full-view glass
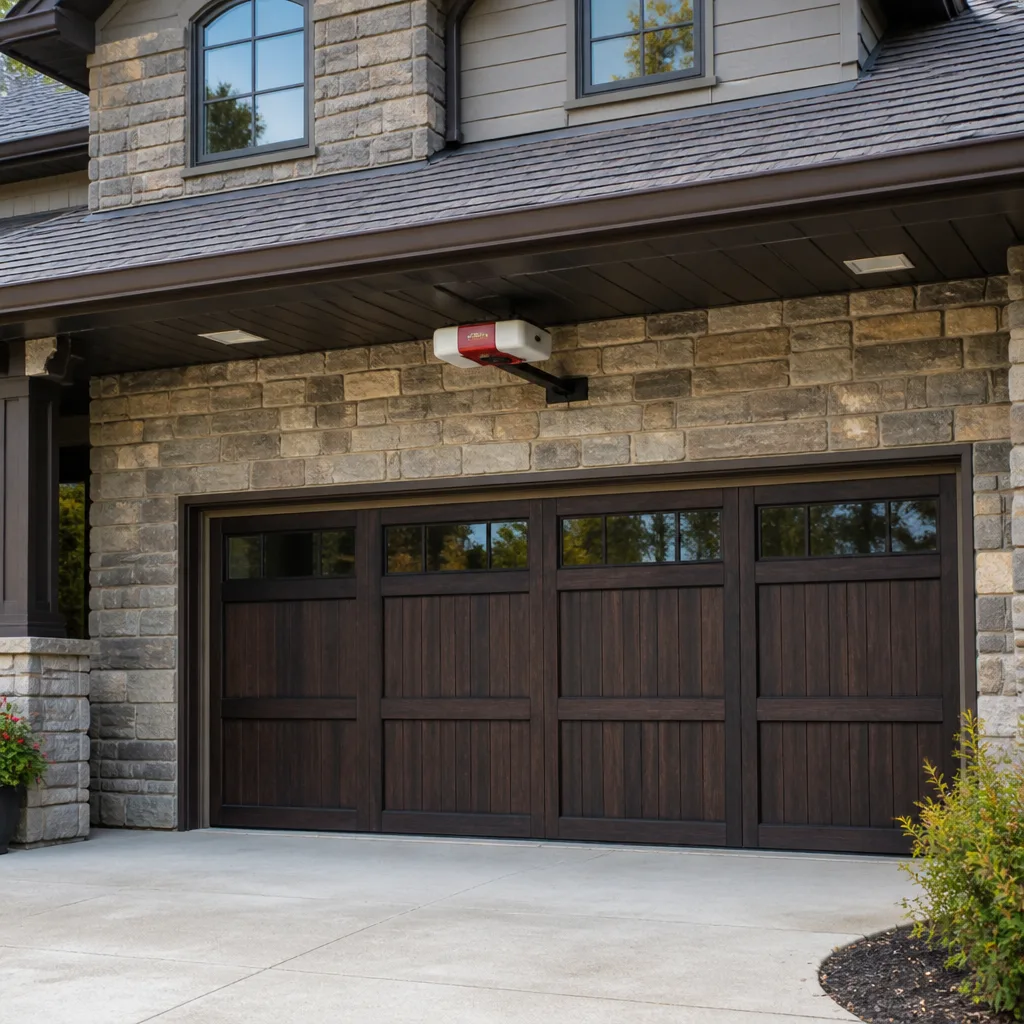 LiftMaster openers
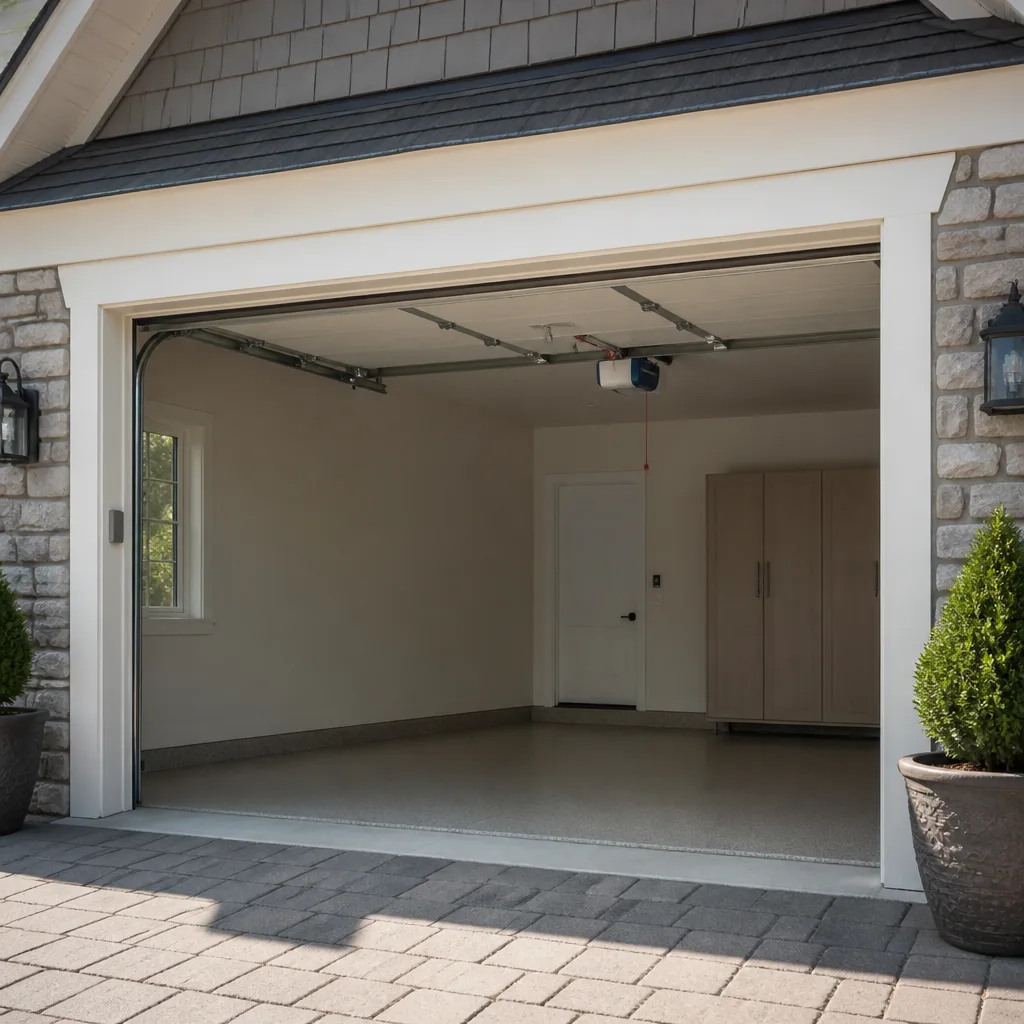 Chamberlain openers
Full 25-point door and opener safety check with every visit - springs, cables, rollers, tracks, and your LiftMaster or Chamberlain opener included
You get a price before we start. It does not change when the pro arrives.
Get your free estimateGarage Door Repair Maintenance Checklist for Danbury Homeowners
The standard “lubricate every six months” advice was not written with a Danbury January in mind. When hardware contracts overnight and a missed inspection means a snapped spring at 7 a.m. in a February deep freeze, a calendar interval stops meaning much. A checklist only protects you if it’s timed around the stress points your door actually faces. In Danbury, those cluster around predictable seasonal events: the first hard freeze, the spring thaw, the stretch of summer humidity, and the fall transition when temperatures swing thirty degrees in a week. This guide is built around those moments, not around a generic reminder on your phone.
Quick Answer
A garage door maintenance checklist for Danbury should be timed to the seasons, not a fixed calendar: do your tension and seal inspection before the first hard freeze, check balance and lubrication after the spring thaw, and re-check hardware on the long summer humidity stretch. Most tasks take 10 to 20 minutes and are safe to do by hand. Spring, cable, and opener-internal work are not DIY jobs anywhere, in any season.
Styles & brands we work with
- Raised-panel steel
- Carriage house
- Modern flush
- Full-view glass
- LiftMaster openers
- Chamberlain openers
Table of Contents
- Why Danbury Timing Beats a Fixed Schedule
- Pre-Winter Prep: The Most Important Week of the Year
- Component-by-Component Checklist With DIY Times
- Stop-and-Call Triggers: When to Put the Tools Down
- Brand-Specific Quirks: Lubrication Points and Tension Access
- Documenting Condition With Photos
- What Deferred Maintenance Actually Costs
- Your Four-Season Danbury Maintenance Calendar
Why Danbury Timing Beats a Fixed Schedule
The six-month rule treats every climate the same. Danbury isn’t. A door here lives through four distinct stress phases a year, and each one attacks a different part of the system. Cold contracts steel and stiffens grease. Heat expands tracks and can throw a door slightly out of alignment. Freeze-thaw cycles work on the bottom seal and the concrete it rests on. Humidity finds every unpainted hinge pin.
When you space maintenance evenly across the calendar, you end up inspecting parts at the wrong time. Lubricating in October and then again in April means your hardware sits through the coldest weeks with grease that has already started to stiffen. Checking balance in July tells you nothing about how the door will behave when the springs are cold. The right approach checks each component right before its hardest season, when a small problem is still small.
There’s a second reason timing matters here. Danbury sits in a part of Connecticut where winter temperature drops are steep and fast. A door that ran fine in November can feel heavy by the first week of January. That gap between “working” and “struggling” is exactly where a spring fails. A pre-winter inspection catches the warning signs while the fix is a scheduled adjustment rather than a stuck car in the driveway.
Our technicians have up to 15 years of experience, and the pattern they describe is consistent: the doors that break in the cold are almost always the ones that skipped the fall check. The repair isn’t usually caused by the cold itself. The cold just finds the weakness that was already there.
Pre-Winter Prep: The Most Important Week of the Year
If you do nothing else on this list, do the pre-winter inspection. Schedule it for the week before your area’s first hard freeze, typically late October into early November in Danbury. This is the single highest-value maintenance window of the year, and it takes under an hour from start to finish. Do it while the weather is still mild enough to work with the door open comfortably.
Work through these five tasks in order:
- Inspect the bottom rubber seal. Run your hand along the full width of the bottom seal and look for cracks, flattening, or sections pulling away from the retainer. A stiff, cracked seal lets cold air and moisture under the door, and once it freezes to the concrete it can tear loose. If the rubber has gone hard, it needs replacing before the thaw, not after.
- Check the threshold and the concrete beneath it. Look for gaps between the seal and the floor, and for any crumbling or heaving of the concrete at the threshold. A gap that lets water pool under the door will freeze and expand, and that cycle accelerates wear on both the seal and the door’s bottom section.
- Test hardware tension by hand, not by tool. With the door closed, check that hinge bolts, track bolts, and bracket fasteners are snug. Grab each hinge and give it a firm wiggle. Loose fasteners should be tightened by hand with the correct wrench, but do not adjust spring tension yourself. If a hinge feels loose at the wood or metal it’s mounted to, that’s a stop-and-call trigger.
- Lubricate metal-to-metal contact points. Apply a garage-door-rated lubricant to hinge pivots, roller bearings, and the torsion bar bearings. Skip the tracks themselves; those should stay clean and dry. Use a lubricant rated for cold temperatures so it doesn’t stiffen when the mercury drops.
- Run the door through a full open-and-close cycle and listen. Any new grinding, popping, or rhythmic squeak means something has changed. Note where in the cycle it happens. That note is useful when you call for garage door repair.
Doing this in early November means you have time to schedule any repair before the cold locks in, and before a small issue becomes an urgent one.
Component-by-Component Checklist With DIY Times
Here’s the full component list, broken down by how long each task takes and whether it’s safe to handle yourself. Work through it once a season on the tasks flagged for that quarter.
- Visual inspection of springs (5 minutes, DIY). Look, don’t touch. Check the torsion spring above the door or the extension springs along the tracks for visible gaps, rust, or a stretched, uneven coil. A gap in a torsion spring means it’s cracked. Stop there and call.
- Balance test (3 minutes, DIY). Disconnect the opener, lift the door halfway by hand, and let go. A balanced door stays put. One that drifts down or slams up has a spring or tension problem.
- Roller inspection (5 minutes, DIY). Check each roller for flat spots, cracks, or wobble in its housing. Worn steel rollers are a common source of noise and vibration; nylon rollers wear differently and often last longer.
- Track alignment check (5 minutes, DIY). With the door closed, sight down each vertical track. It should be straight and plumb, with even gaps on both sides of the door. Don’t try to bend a track back into shape yourself; a misaligned track usually means something upstream has shifted.
- Hinge and fastener tightening (10 minutes, DIY). Snug loose bolts with a wrench. Don’t overtighten, especially on hinges mounted to a wood section.
- Weather seal and threshold inspection (5 minutes, DIY). Full-length check for cracks, gaps, and contact with the floor. Replace side and top seals as needed.
- Safety reverse test (3 minutes, DIY). Put a small object in the door’s path and close it. The door should reverse on contact. Test the photo-eye sensors by blocking the beam. This is the single most important safety check on the list and it takes under three minutes.
- Opener force and travel check (5 minutes, DIY). Watch the door open and close fully. It should reach the floor and the fully open position without straining. If the opener grinds, hesitates, or the door reverses on its own, that’s a problem for garage door opener repair.
- Spring and cable inspection (visual only, DIY; adjustment is pro-only). Cables should run evenly and sit properly in their drums. Any fraying, slack, or a cable off its drum is a hard stop.
Adding up the DIY-safe tasks gets you to roughly 40 minutes per full inspection. Do the balance test every season. Do the full list twice a year, at the freeze and after the thaw.
Stop-and-Call Triggers: When to Put the Tools Down
Garage door systems store enormous energy in their springs and cables. A torsion spring under load can cause serious injury if you try to adjust, remove, or “test” it with hand tools. This isn’t a caution about being careful. It’s a hard line. Springs, cables, and the brackets they attach to are not homeowner territory, and no checklist task on this page asks you to touch them beyond a visual inspection.
Stop and call a professional immediately if you see any of these:
- A visible gap or break in a torsion spring, or a stretched, sagging extension spring.
- A cable that’s frayed, kinked, or off its drum.
- The door won’t lift by hand, or slams down much faster than it should.
- A hinge or bracket that’s pulling away from the door section or the wall.
- The door comes off its track, even slightly.
- The opener strains, grinds, or reverses without an obstruction.
- The safety reverse fails the object test.
- You hear a loud bang from the garage and the door won’t open.
That last one is the classic snapped-spring sound. If it happens in the cold, it’s usually because the spring was already weak and the temperature drop finished it. This is exactly the failure a pre-winter check is designed to prevent. When it does happen, call for garage door spring repair rather than trying anything yourself. Spring repair is its own specialty for good reason: it’s the most mechanically demanding job in the trade, and it’s one many general handymen won’t touch.
Our technicians have up to 15 years of experience with spring work, and we treat it as a dedicated service, not an add-on. Call (844) 524-6649. We answer 24/7. Fast dispatch from 7am to 7pm, Sunday through Friday. We quote and agree the price in writing before any work begins.
Brand-Specific Quirks: Lubrication Points and Tension Access
Here’s where a generic checklist fails most people. Every brand routes its hardware and tension system differently, and the lubrication points that matter on one system are irrelevant on another. If you’re inspecting a Clopay door, a LiftMaster opener, or a Wayne Dalton system, you’ll find the service points in different places. We work on all of these brands and a few more, so here’s what actually changes from one to the next.
Clopay doors often use torsion springs mounted above the header or along a low-headroom configuration, and the hinge and roller layout varies by section style. On Clopay’s heavier insulated models, focus your lubrication on the hinge pivots and the roller bearings, not the tracks. The tension access depends on the spring configuration; check whether yours is torsion or extension before you go looking for a winding point you shouldn’t touch anyway.
LiftMaster and Chamberlain openers share a lot of internal design, but the lubrication points on the opener itself are minimal by design. Most of what you’re maintaining is the door hardware, not the motor. On these units, the important checks are the force settings, the travel limits, and the safety reverse. The belt or chain drive should be checked for slack, but don’t over-tighten a belt; a slightly loose belt is quieter and easier on the motor than an over-tight one.
Craftsman openers are common in Danbury homes that have had a door for a while, and they’re worth a specific note: older Craftsman units use a different force-adjustment scheme than newer models, and the safety sensor wiring runs differently. If you have a Craftsman opener and the door has started reversing on its own, the fix is usually a sensor alignment or a force setting, not a new opener.
Amarr and Wayne Dalton doors both route their hardware differently than a Clopay, and Wayne Dalton’s spring systems in particular have their own quirks around tension access. The takeaway: don’t assume the lubrication points you found online apply to your door. Look at what’s actually installed.
If you’re not sure what system you have, we can diagnose it. Fast response, lasting repair is the goal whether the job is a tune-up or a full replacement. A short walk-around with a technician is often the cheapest way to learn your door’s actual layout, so next season’s check takes half the time.
Documenting Condition With Photos
The most underrated maintenance tool you have is your phone camera. A photo record gives you a baseline, and a baseline is what turns “it’s been making that noise for a while” into “it started on this date and has gotten worse.” When a component fails, you’ll have a clear comparison point, and any technician who works on your door can see the same progression you did.
Here’s how to build the record in about five minutes per inspection:
- Photograph each spring in your system, full-length, from a safe viewing distance. Don’t climb on anything. Note the date in your phone’s photo metadata.
- Photograph the roller and hinge line on both sides at one hinge close-up and one full-section view.
- Photograph the bottom seal and threshold from inside the garage, looking at the gap along the floor.
- Photograph any label or sticker on the door and the opener. That label tells you the brand and model, which matters if anything needs a part.
- Note the date and what you heard in your phone’s notes app. “Right side squeak on close” with a date is more useful than a memory.
Do the same set of photos before every seasonal inspection. Comparing them side by side makes wear visible that you’d otherwise miss, especially on a slow-developing issue like a flattening seal or a hinge working loose.
What Deferred Maintenance Actually Costs
Every skipped task on this list maps to a repair bill down the line. You can’t predict exactly what a repair will cost, because it depends on your door and what’s actually wrong, but the relationship between skipped checks and repair scope is direct. Here’s the honest mapping.
Skipping the pre-winter seal and threshold check is the cheapest task to defer and the slowest to hurt you. A stiff, cracked bottom seal lets moisture in, and the freeze-thaw cycle it enables worsens the concrete and the door’s bottom section. What starts as a seal replacement becomes a seal and threshold repair.
Skipping the balance test is what turns a spring that’s wearing evenly into a spring that snaps. An unbalanced door puts uneven load on the opener and the springs, which is one of the most common paths to full spring failure. A spring adjustment or inspection is a smaller job than a failed spring in a cold driveway at 7 a.m. If your spring does go, we’ll give you a written price before we start, so you know where you stand.
Skipping hinge and roller lubrication leads to a noisy door and eventually to worn rollers and stress on the door sections themselves. That’s a hardware job rather than a single-part fix. Routine lubrication is the least glamorous maintenance on this list and the one that saves the most over time.
Skipping the safety reverse test has no dollar cost attached to it, and that makes it the most important item here. A door that doesn’t reverse on contact is a safety problem every time it closes. It takes three minutes to test and it should never come off your list.
Skipping the opener check lets a sensor or force setting drift until the door reverses unpredictably. Left alone, a struggling opener wears out faster, which is why opener repair is a common outcome of deferred checks. You can read more about what that involves on our opener repair page.
Pricing is per job by written estimate, so we don’t quote repair costs from a distance. What we can say: the cost of a skipped inspection is almost always a bigger job than the inspection itself. Your door, our expertise. That’s the equation.
Your Four-Season Danbury Maintenance Calendar
Tie all of the above into a single annual rhythm. This is the schedule to set on your phone, and each entry is timed to the season that stresses that part of the door.
- Early to mid-fall (late October): the pre-winter inspection. Full checklist, seal and threshold check, hardware tension, lubrication, and photo baseline. This is the big one. Get it done before the first hard freeze.
- Mid-winter (January through February): the watch check. A five-minute look each week. Listen for new sounds during the cold snap, and check that the auto-reverse still works. Don’t lubricate in freezing temperatures; the grease won’t spread. Don’t touch springs.
- Spring (March through April): the post-thaw inspection. Re-check the bottom seal and threshold for freeze damage. Retest balance. Rerun the safety reverse. Re-photograph everything and compare to your fall baseline.
- Summer (June through August): the humidity check. Inspect hinge pins and any bare metal for rust, check the track alignment after the temperature swings, and confirm the rollers aren’t cracking in the heat. Lubricate hinge pivots and roller bearings.
- Early fall again (September): the transition check. A quick pass before the cycle restarts to catch anything the summer humidity loosened. Then you’re ready for the pre-winter inspection.
That’s the whole year in five checkpoints, two of them full inspections and three of them quick passes. Total time across the four seasons is well under two hours including photos. The rest of the time your door is on its own, which is the point.
Common Mistakes to Avoid
- Greasing the tracks. Tracks are meant to run dry and clean. Lubricant on the tracks catches grit and causes the rollers to slide instead of roll. Wipe them clean instead.
- Lubricating in freezing weather. Cold grease doesn’t spread evenly and can stiffen further. Do your lubrication in the fall while it’s still mild, then leave the hardware alone until the thaw.
- Trying to adjust spring tension yourself. This is the single most common serious-injury mistake, and it’s completely avoidable. A spring is under enormous stored load even when the door looks quiet. If tension is off, call a pro. Our technicians have up to 15 years of experience with this work, and it needs that.
- Skipping the seal and threshold in October. It’s the easiest task to forget and the one that quietly damages the bottom of the door all winter. Put it first in your pre-winter list.
- Assuming one brand’s maintenance applies to another. If you have a Wayne Dalton or Amarr door, the hinge layout and service points are different from what you’ll find in a Clopay owner’s manual. Check your own hardware before following a generic guide.
- Overchecking by copying a checklist and ignoring your climate. A six-month rule from a warm-weather blog doesn’t match a Danbury winter. Time the work to the seasons, not the calendar.
- Not replacing the bottom rubber when it’s hard, not just torn. A stiff seal fails at the contact point even before it cracks. If it’s gone hard, replace it, and do it before the freeze locks it to the floor.
See the difference
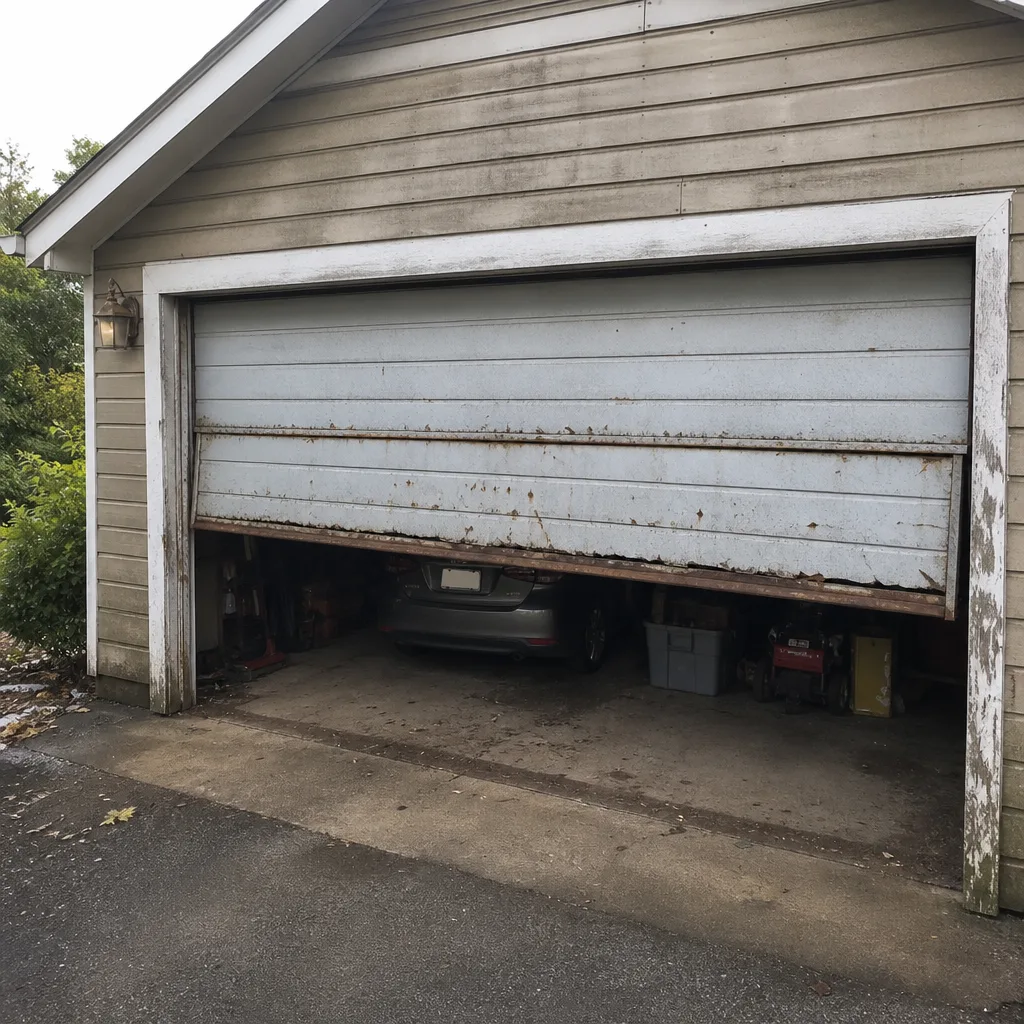 Before
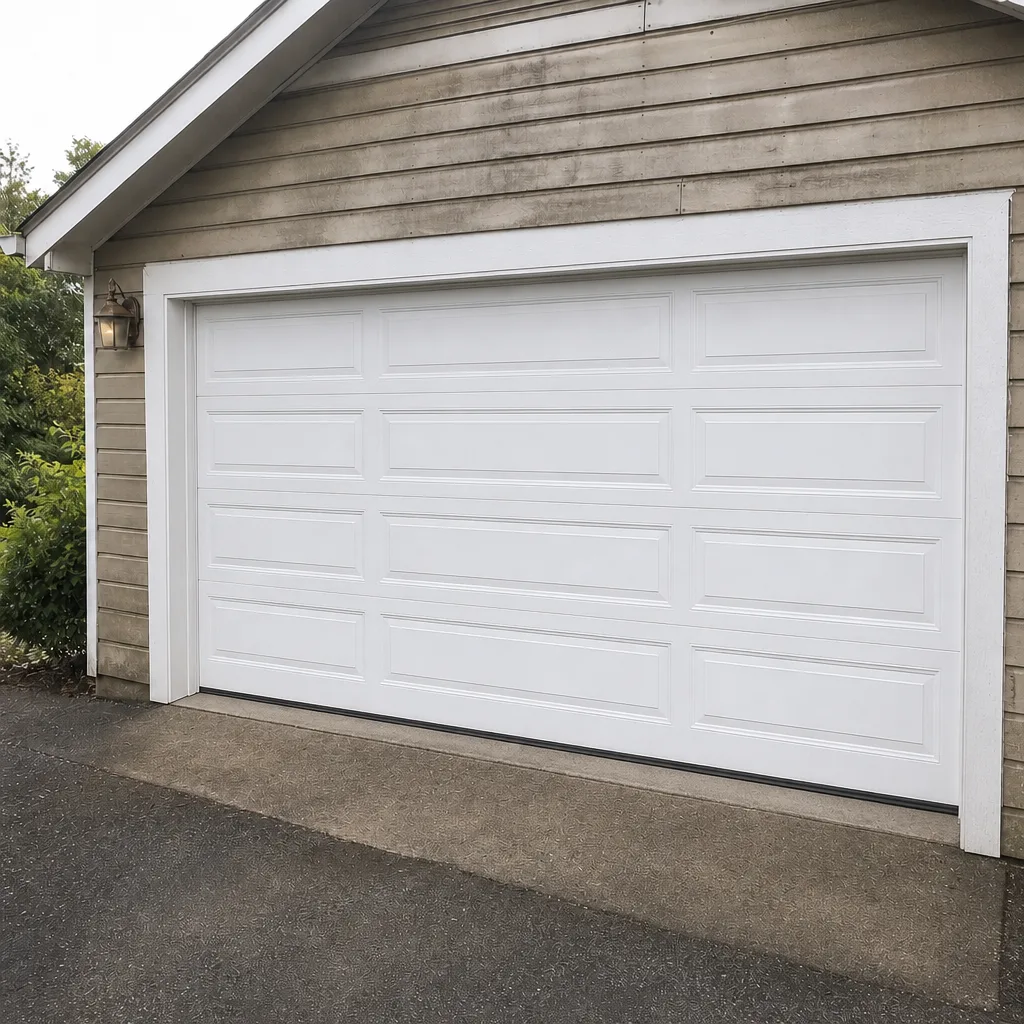 After
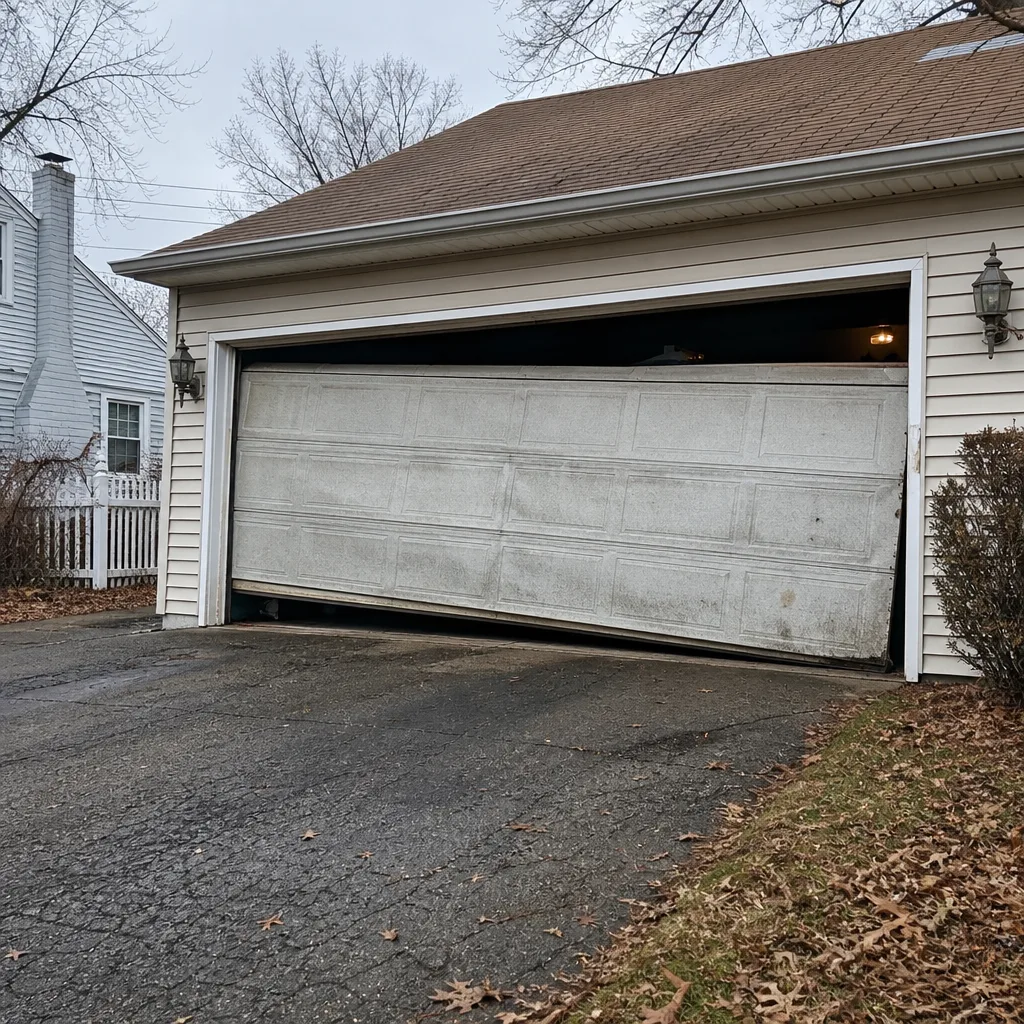 Before
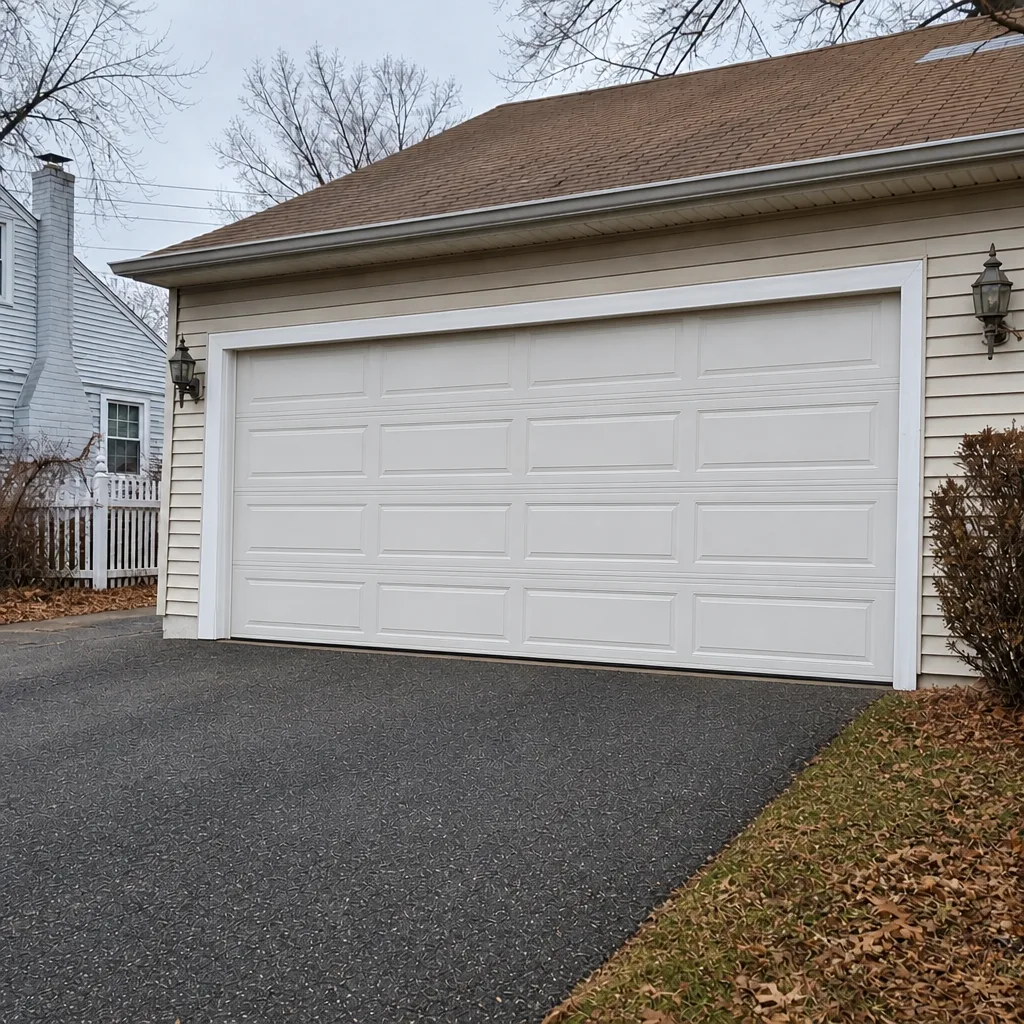 After
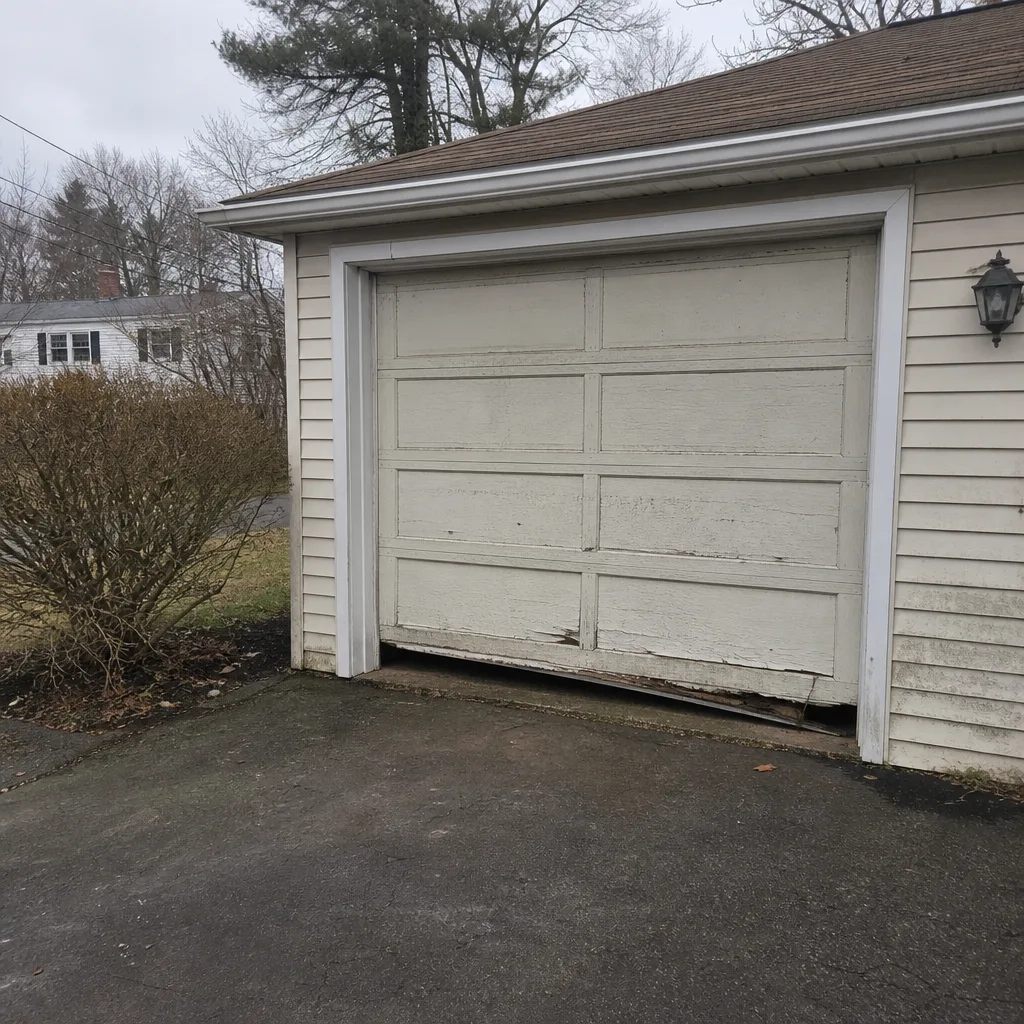 Before
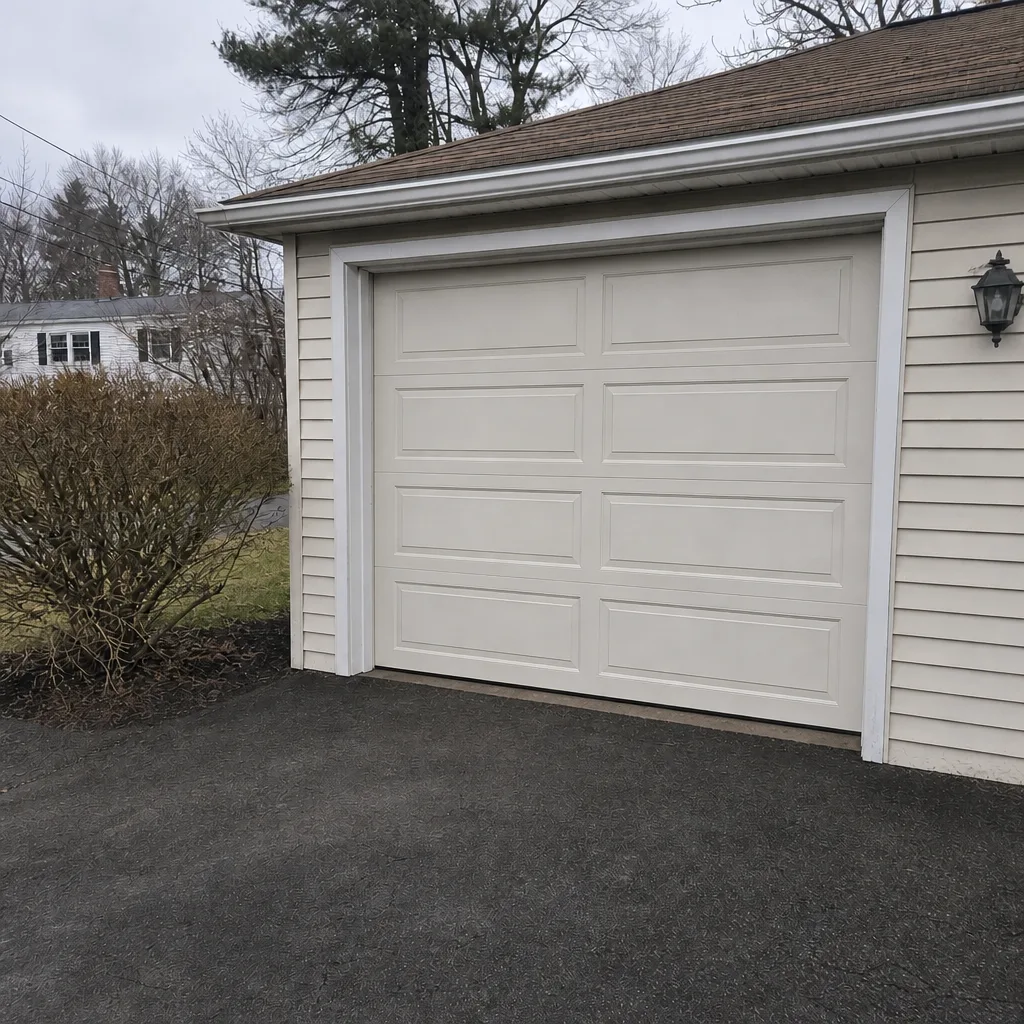 After
When to Call a Professional
Call a professional for anything involving springs, cables, and their mounting brackets, full stop. Those jobs carry serious injury risk and need proper tools and training. Call for any door off its track, any opener that strains or reverses without an obstruction, a failed safety reverse test, and any loud bang from the garage followed by a door that won’t open. Call if you’re not sure what type of spring you have or whether it’s safe to keep operating. And call if a hinge or bracket is pulling away from the door or the wall, because that’s a structural problem a wrench can’t fix. We can work with your existing system on any of these.
Danbury Garage Door Repair Co offers free estimates in Danbury. Call (844) 524-6649. We answer 24/7. Fast dispatch from 7am to 7pm, Sunday through Friday. The price is quoted and agreed before any work starts, and the written estimate sets the final price.
Frequently Asked Questions
Twice a year for the full checklist and three times a year for a quick visual pass, but timed to the seasons rather than a fixed interval. The mandatory ones are the pre-winter inspection before the first hard freeze and the post-thaw inspection after the spring melt. Call (844) 524-6649 for a free estimate if you’d rather have a technician do the inspection.
Yes, for the metal-to-metal contact points on the hinges, roller bearings, and torsion bar bearings. Use a lubricant rated for cold temperatures and apply it in mild weather, before the freeze. Skip the tracks, and never lubricate or adjust anything on the spring or cable system. Call (844) 524-6649 for anything beyond the hardware to get an exact quote, free of charge.
A slight change in sound during cold snaps is normal, because metal contracts and lubricant stiffens. A new grinding, popping, or rhythmic squeak is not, and a door that suddenly feels heavy is a warning sign. Note where in the cycle the sound happens and call (844) 524-6649 for an exact quote.
Check it in October by running your hand along the full width. If the rubber has gone hard, is cracking, or has sections pulling away from the retainer, replace it before the first hard freeze. A stiff seal can freeze to the concrete and tear loose. If you’re unsure, call (844) 524-6649. Estimates are free.
Photograph both springs full-length from a safe distance, the hinge and roller line on each side, the bottom seal and threshold from inside, and any label on the door or opener. Add the date and any new sounds to your phone’s notes app. Do the same set each season so you can compare. If your photos show a break, call (844) 524-6649 for a free estimate.
No. We quote and agree the price in writing before any work starts, and the written estimate sets the final price. If we find something the inspection didn’t reveal, we’ll explain it and quote it separately rather than adding it to the original job. Call (844) 524-6649. We answer 24/7.
The local professionals we connect you with are licensed and insured as Connecticut requires, and our technicians have up to 15 years of experience. We also work across the major brands, including Clopay, Amarr, Wayne Dalton and Craftsman, so your existing system is covered. Call (844) 524-6649. Estimates are free.
For urgent repair, yes. Same-day service is available, and emergency garage door service covers situations that can’t wait, like a broken spring blocking the car in the morning. Call (844) 524-6649. We answer 24/7. Fast dispatch from 7am to 7pm, Sunday through Friday.
The Bottom Line
Your garage door doesn’t need maintenance on a fixed calendar. It needs it at the moments its parts are most stressed, and in Danbury those moments are the first hard freeze, the spring thaw, the summer humidity stretch, and the fall transition. A pre-winter inspection of the bottom seal, threshold, hardware tension, and balance is the single highest-value hour you’ll spend, because it catches the problems the cold will find anyway. Do the DIY-safe tasks yourself, photograph everything each season so you have a baseline, and stop immediately when you reach a spring, a cable, or a track that has shifted. If anything on this checklist turns up a stop-and-call trigger, call Danbury Garage Door Repair Co at (844) 524-6649 for a free estimate. We answer 24/7, with fast dispatch from 7am to 7pm, Sunday through Friday. We work on your brand, we quote the price before the work starts, and the written estimate is the price.
Written by the team at Danbury Garage Door Repair Co.